Field Service: Workflows: Timesheets + Timesheet Timer
Purpose
This document covers how to add time to tasks in the Field Service application of Odoo 14. We'll go over how the Timesheet Timer works, and how to manually add time.
Timesheet Timer
If the Timer is enabled through app settings as well as project settings, you'll see a Start button on the top of your field service tasks.
Click Start. You'll then see a timer starting near the task stage.

You'll have the option toPause the timer and resume later.
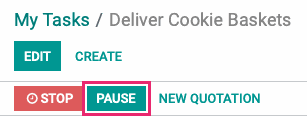
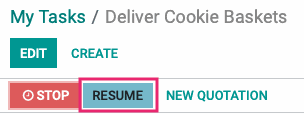
And you'll have the option to STOP the timer when your work is done.
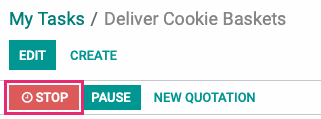
Click STOP to indicate your work is complete. This brings up a modal window where you'll verify the time spent, and add a description. Note that the time will round according to your Timesheet settings. When you're ready, save the timesheet entry.

From the task, click the Timesheets tab to see your new entry.
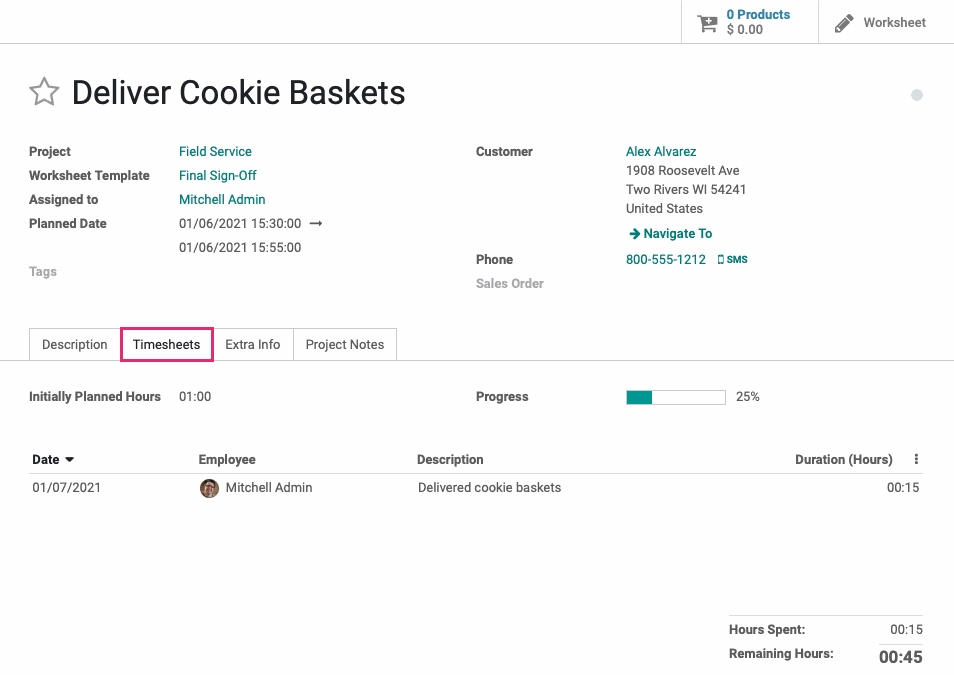
If you need to add more time to the task, simply click the Start button again.
Manual Timesheet Entries
You can add time manually to a Field Service by first opening the task, then clicking Edit. Under the Timesheets tab, click Add a Line.

This will open a new line where you'll ensure the following fields are complete:
Date: This will auto-populate to today's date; adjust if needed.
Employee: This will auto-populate with your name.
Description: Enter a short description for the work completed for this time entry.
Duration: Enter the time spent in hours and minutes (e.g., 1:45) or as a decimal (e.g., 1.75). Odoo will not round manually-entered time, so follow your company's policies on rounding.
After each entry has been added, the Hours Spent, Progress, and Remaining Hours fields will update, based on the Initially Planned Hours.
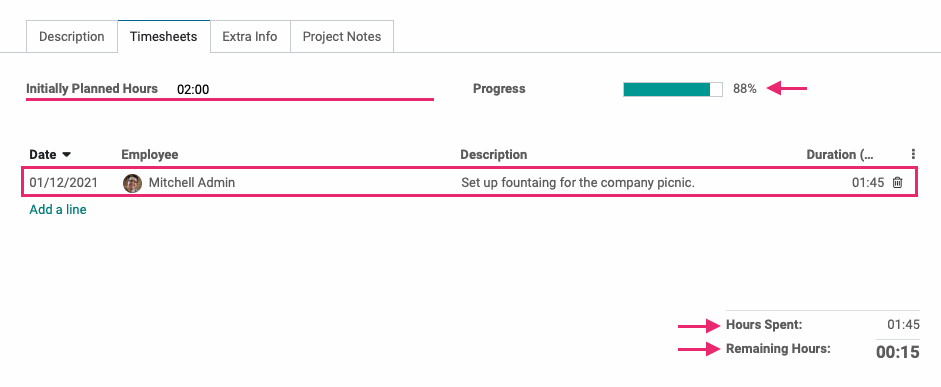
Click save when you're done.
