Recruitment: Surveys
Purpose
This document will outline the steps required to create and edit a new survey within the Surveys application of Odoo 15. Surveys can be internal for performance reviews, or used externally via the website to assist in the hiring process and some sales applications.
The format and content of the survey is highly customizable and can be tailored per single use case, or saved as a permanent addition to the database library.
Process
To get started, navigate to the Surveys application.

Creating a New Survey
The kanban view will display the survey cards, which will show how many people have participated, how many have passed, and what percentage of the participants have succeeded.

To create a new survey, click Create.
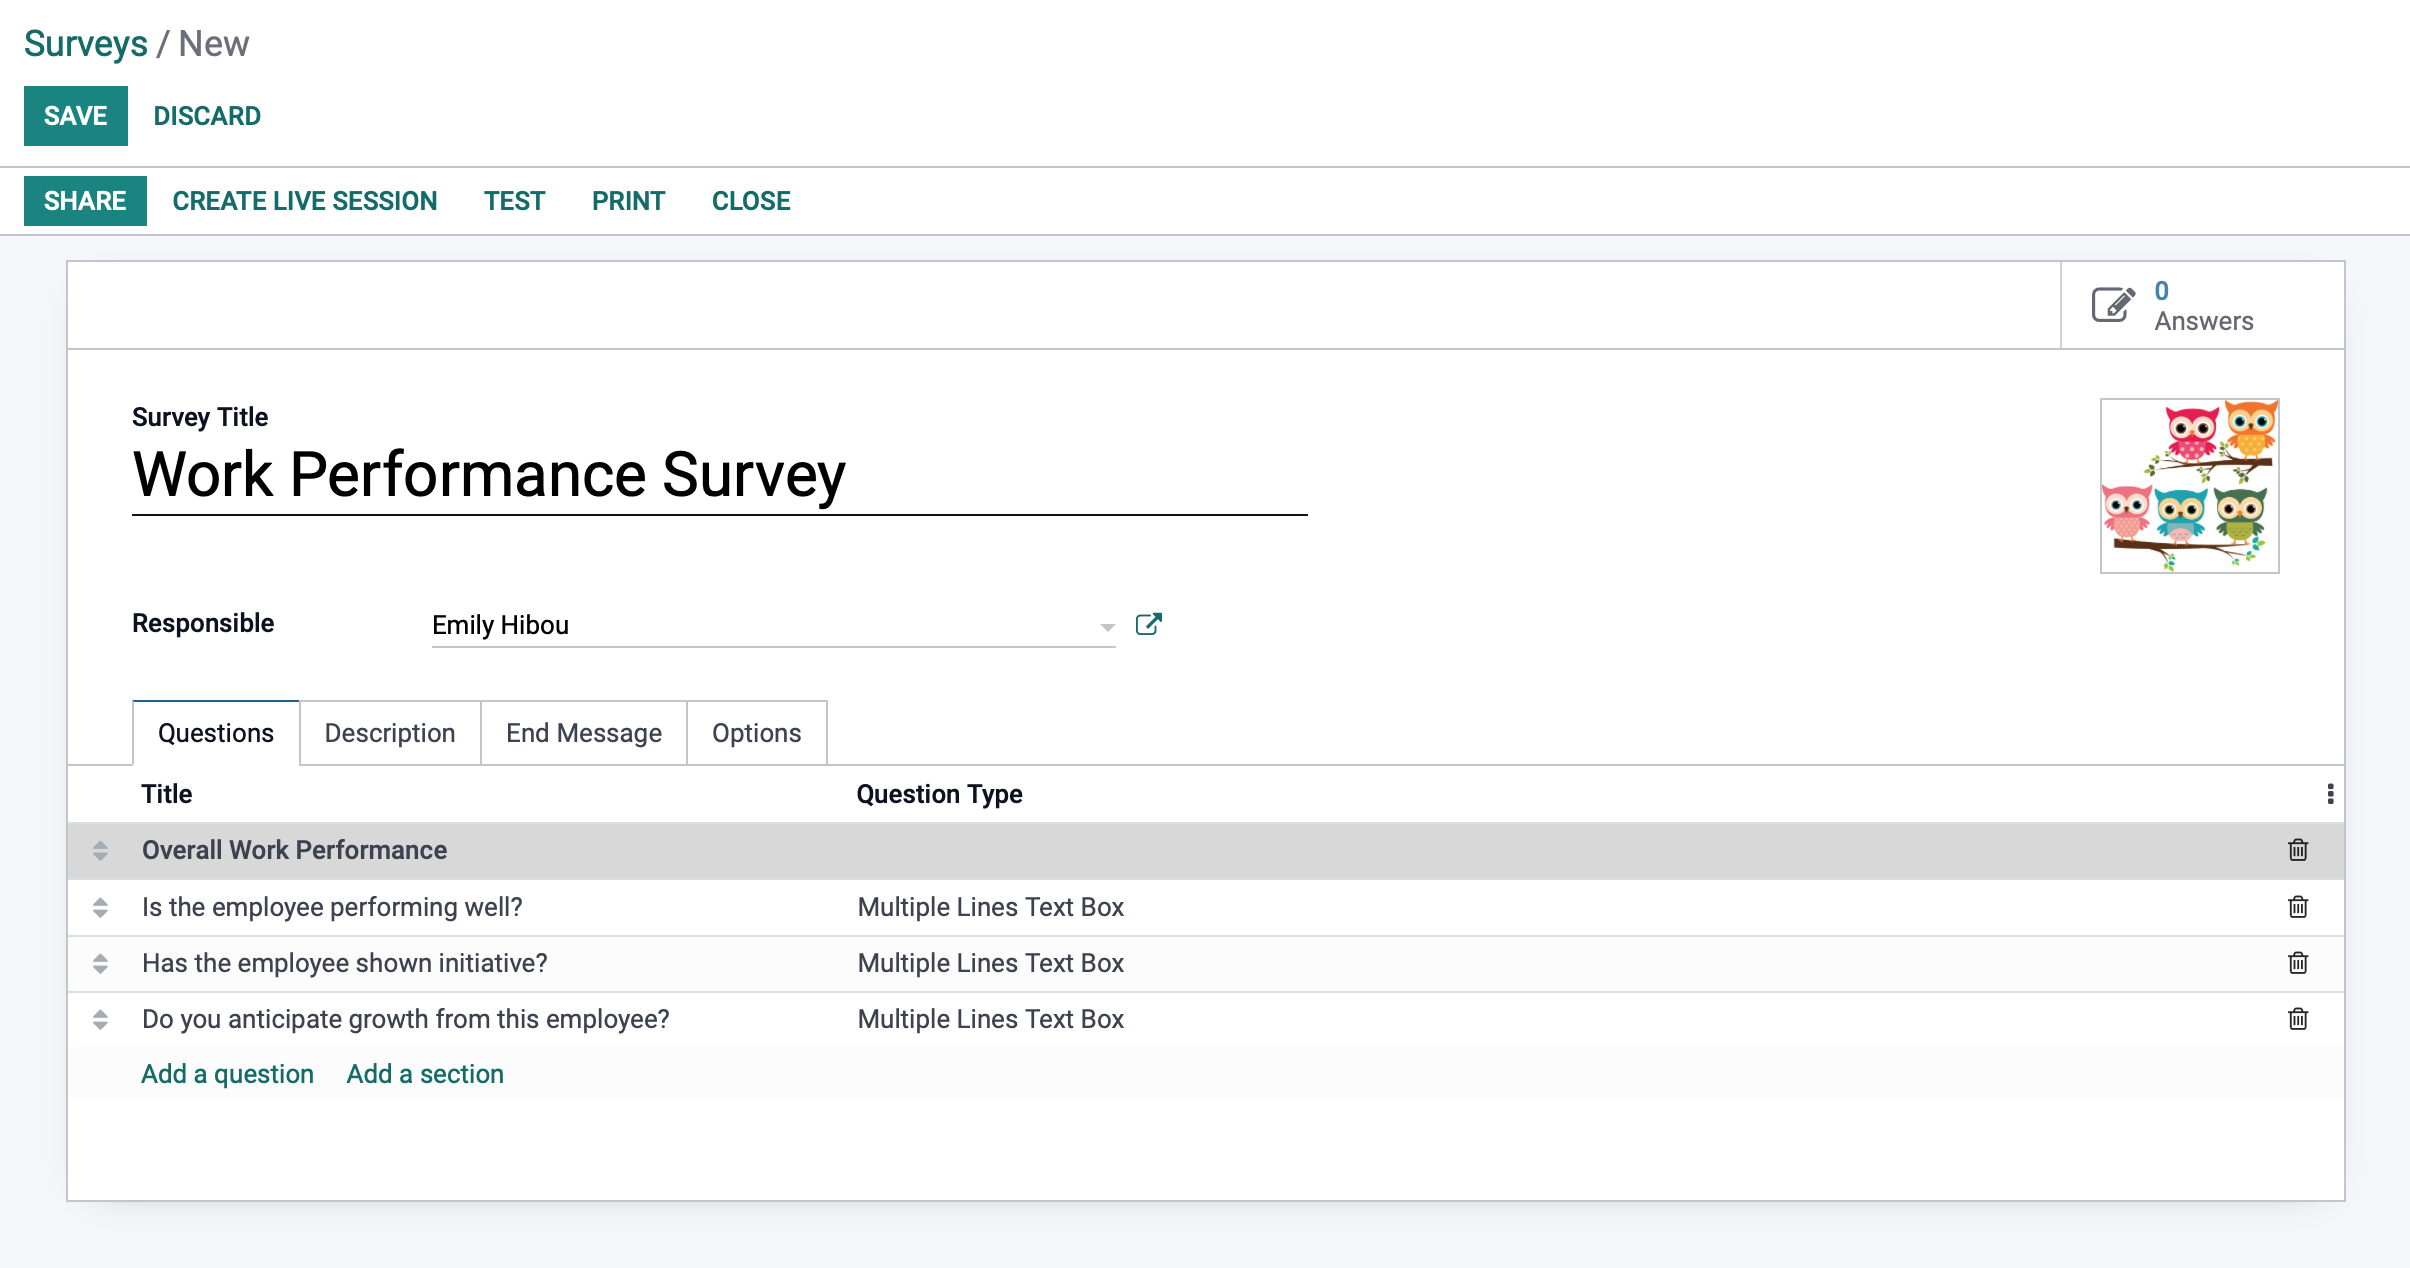
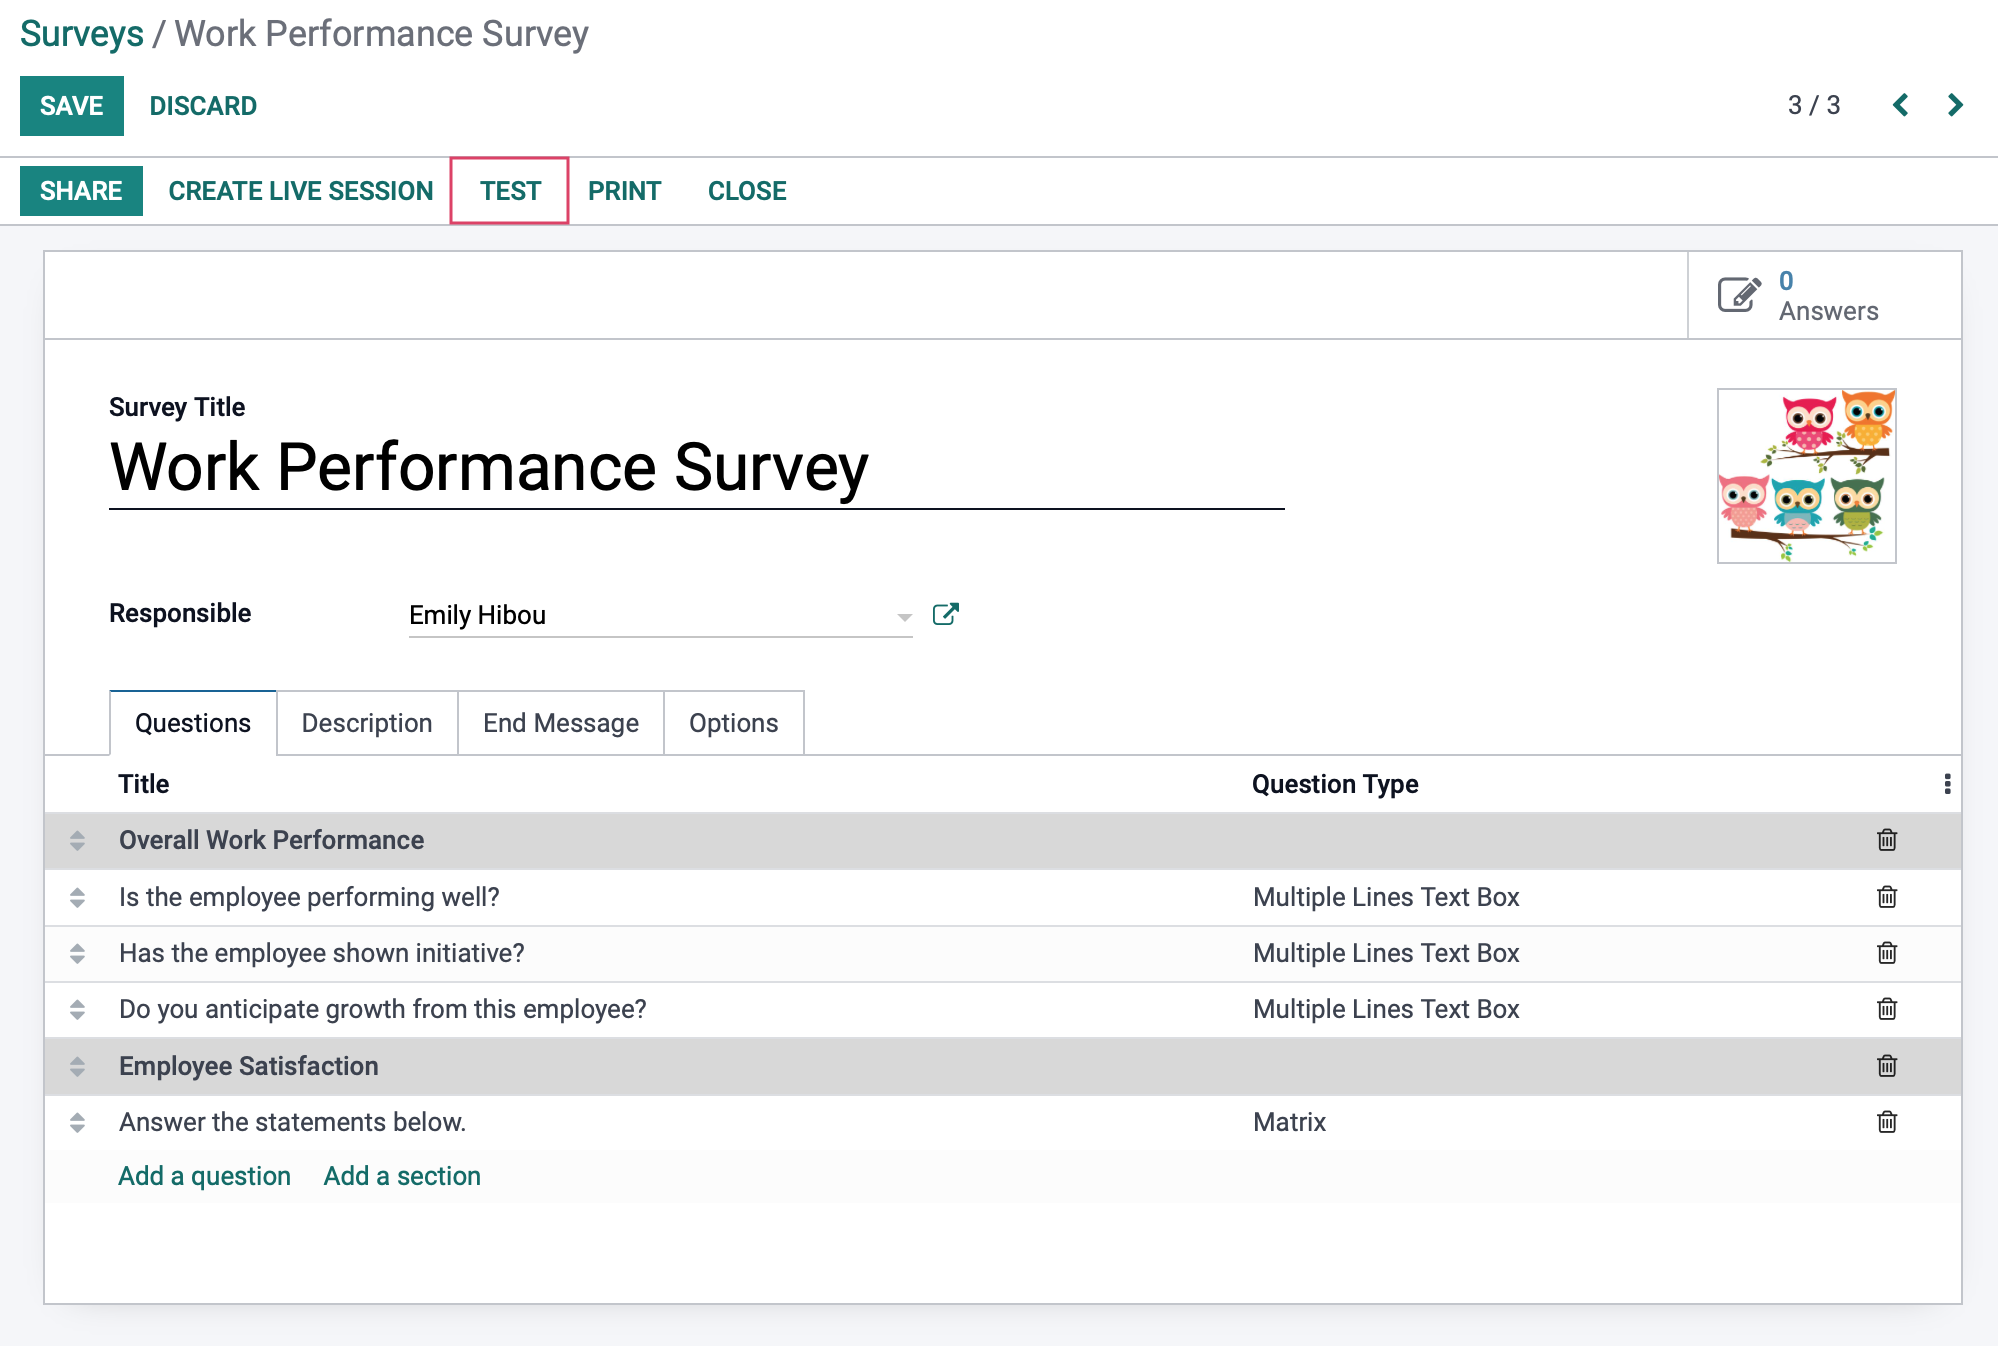
When creating a new survey, you see the following window. Title your Survey and begin adding sections and questions using the Add a question and Add a section buttons at the bottom of the window. Sections and Questions can be rearranged using the Drag symbol to the left, and deleted with the Bin on the far right. The Question Type column will show what way the question is answered. This will covered further down in this document. If you add an image to the survey, it will appear as the background of the survey with the questions over it.
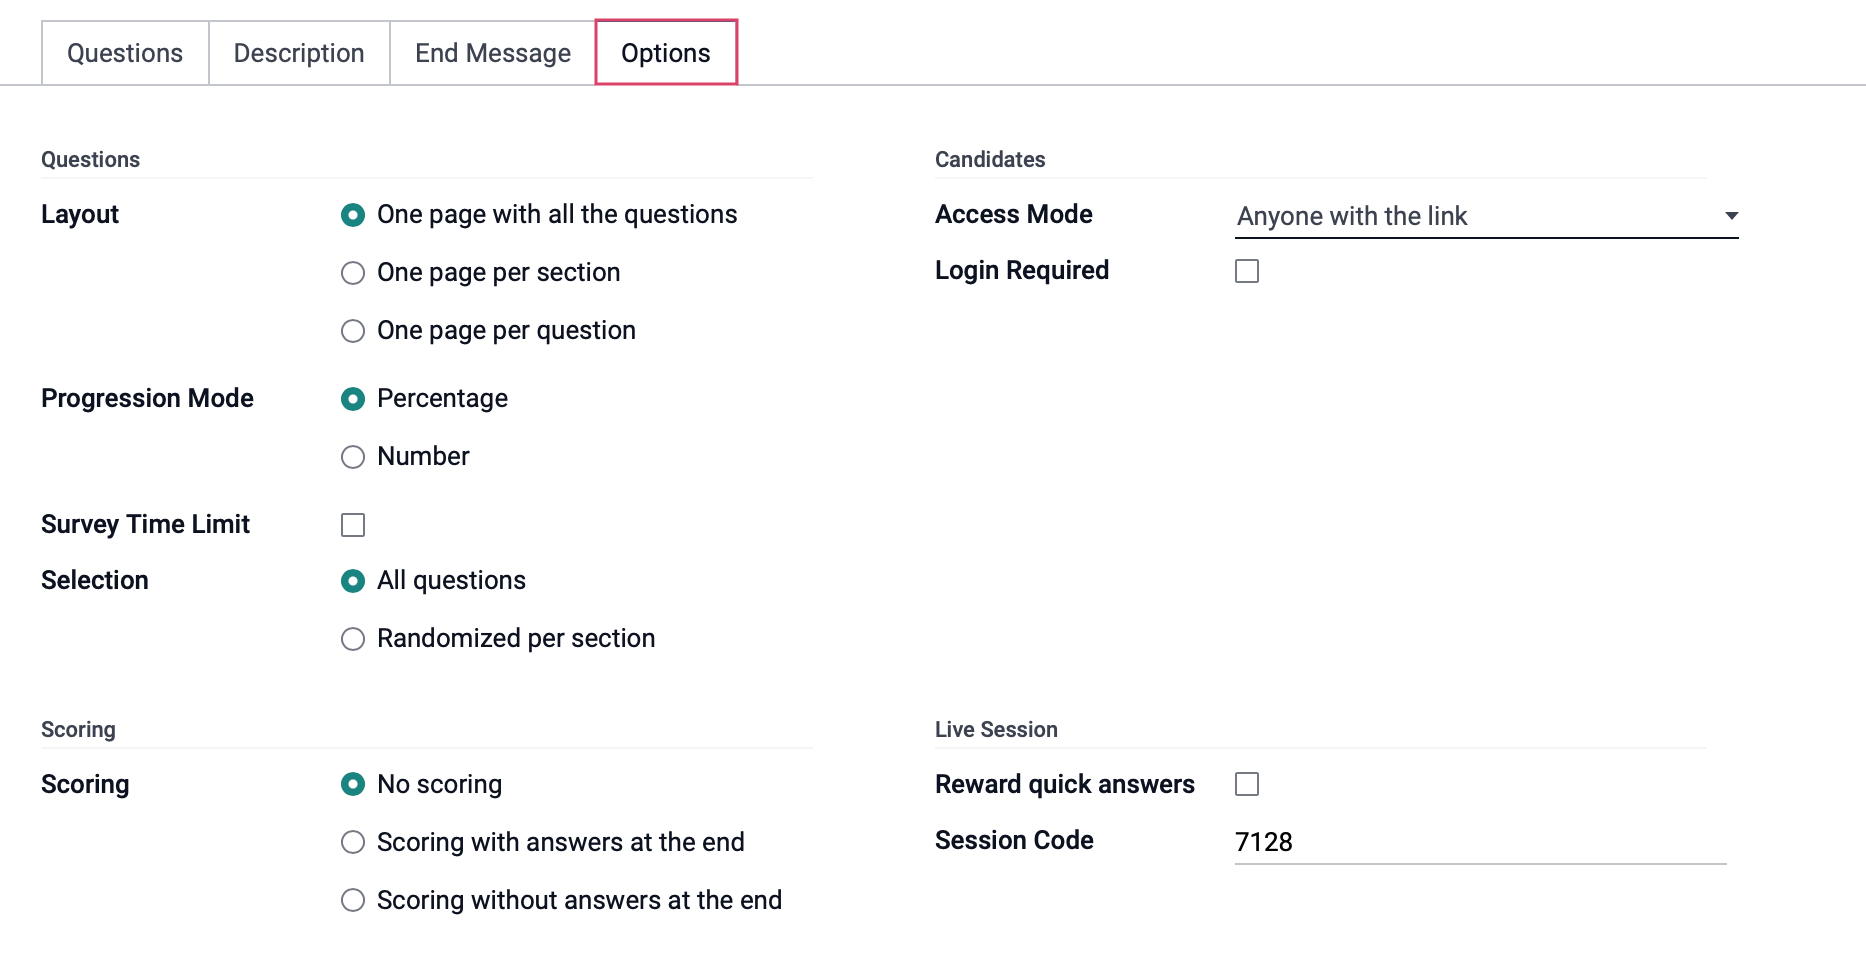
Under the Options tab, you have more control over how your survey will be organized and how the participants might be prompted as they interact with the survey.
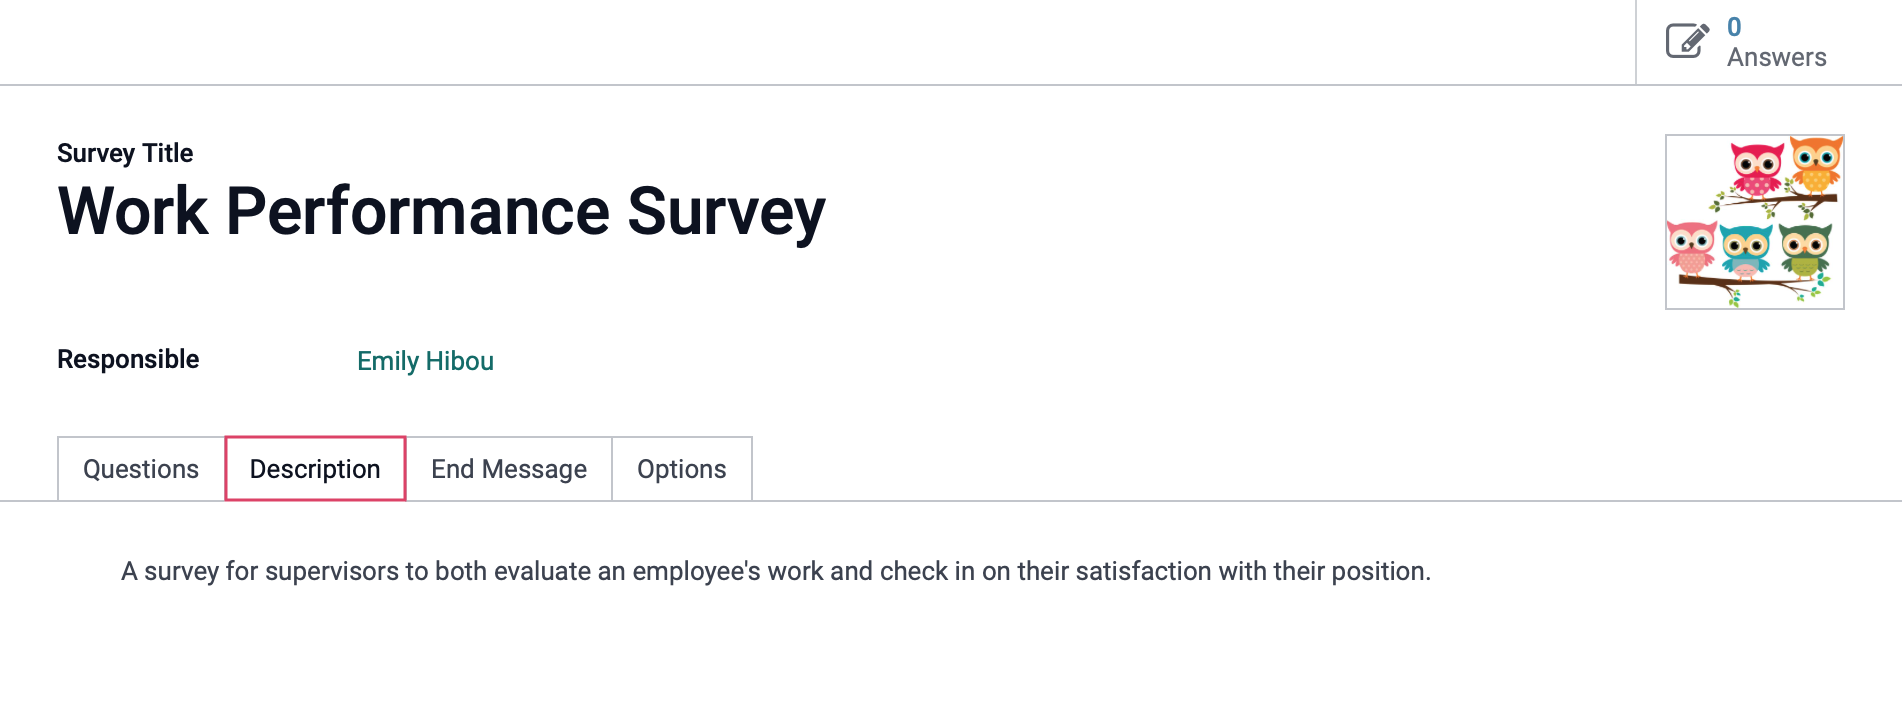
Under the Description tab, you can mark what this survey might be used for.
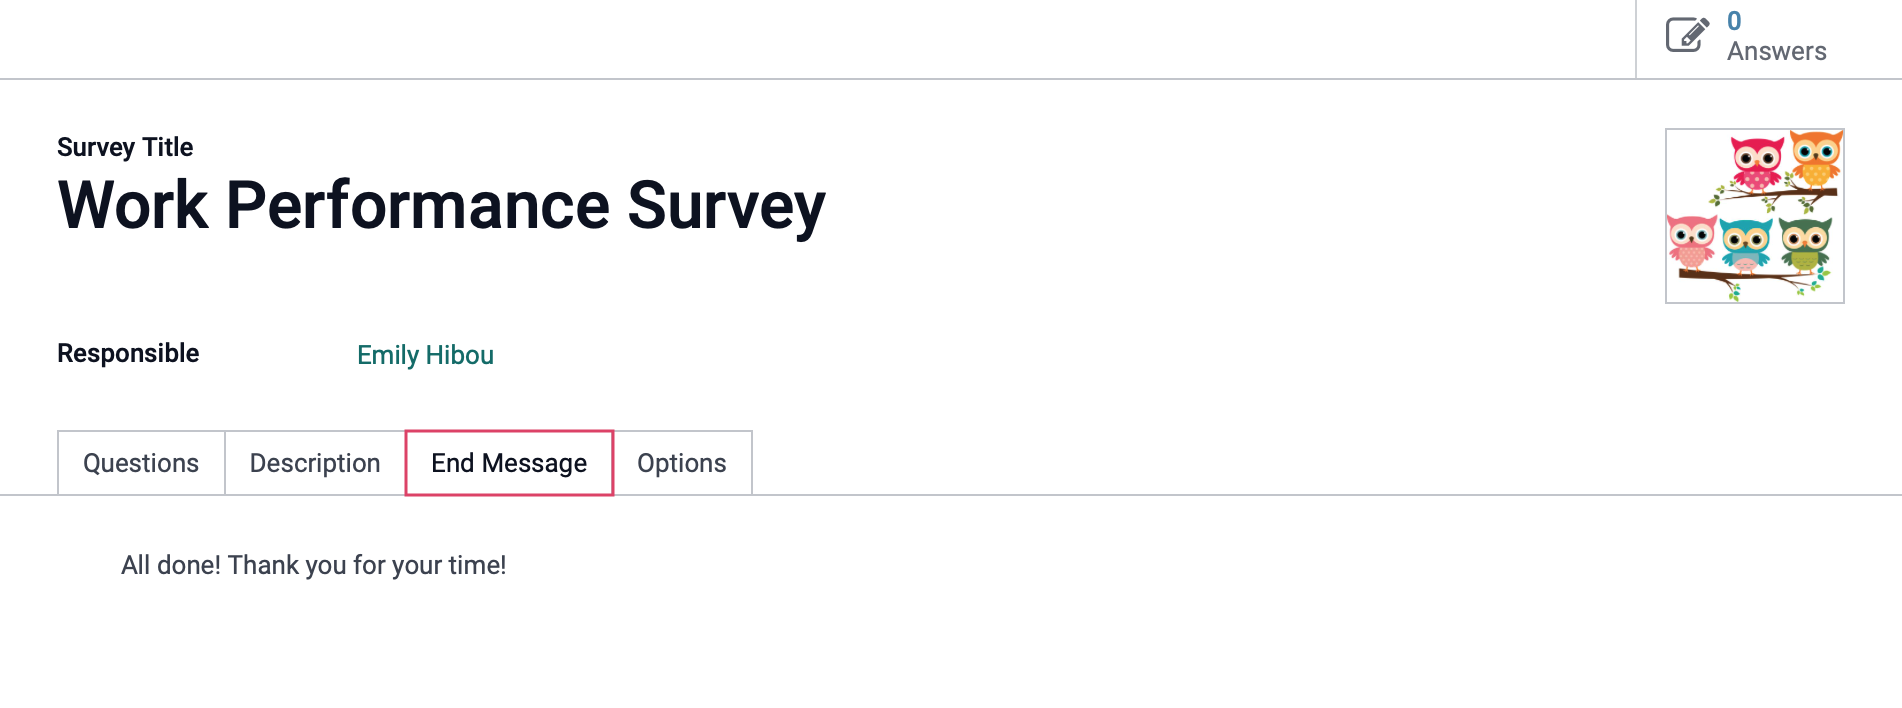
Under the End Message Tab, you can select a message to pop up when someone completes the survey.
When adding a question you will see the modal window pictured below. Here you select the Question Type.
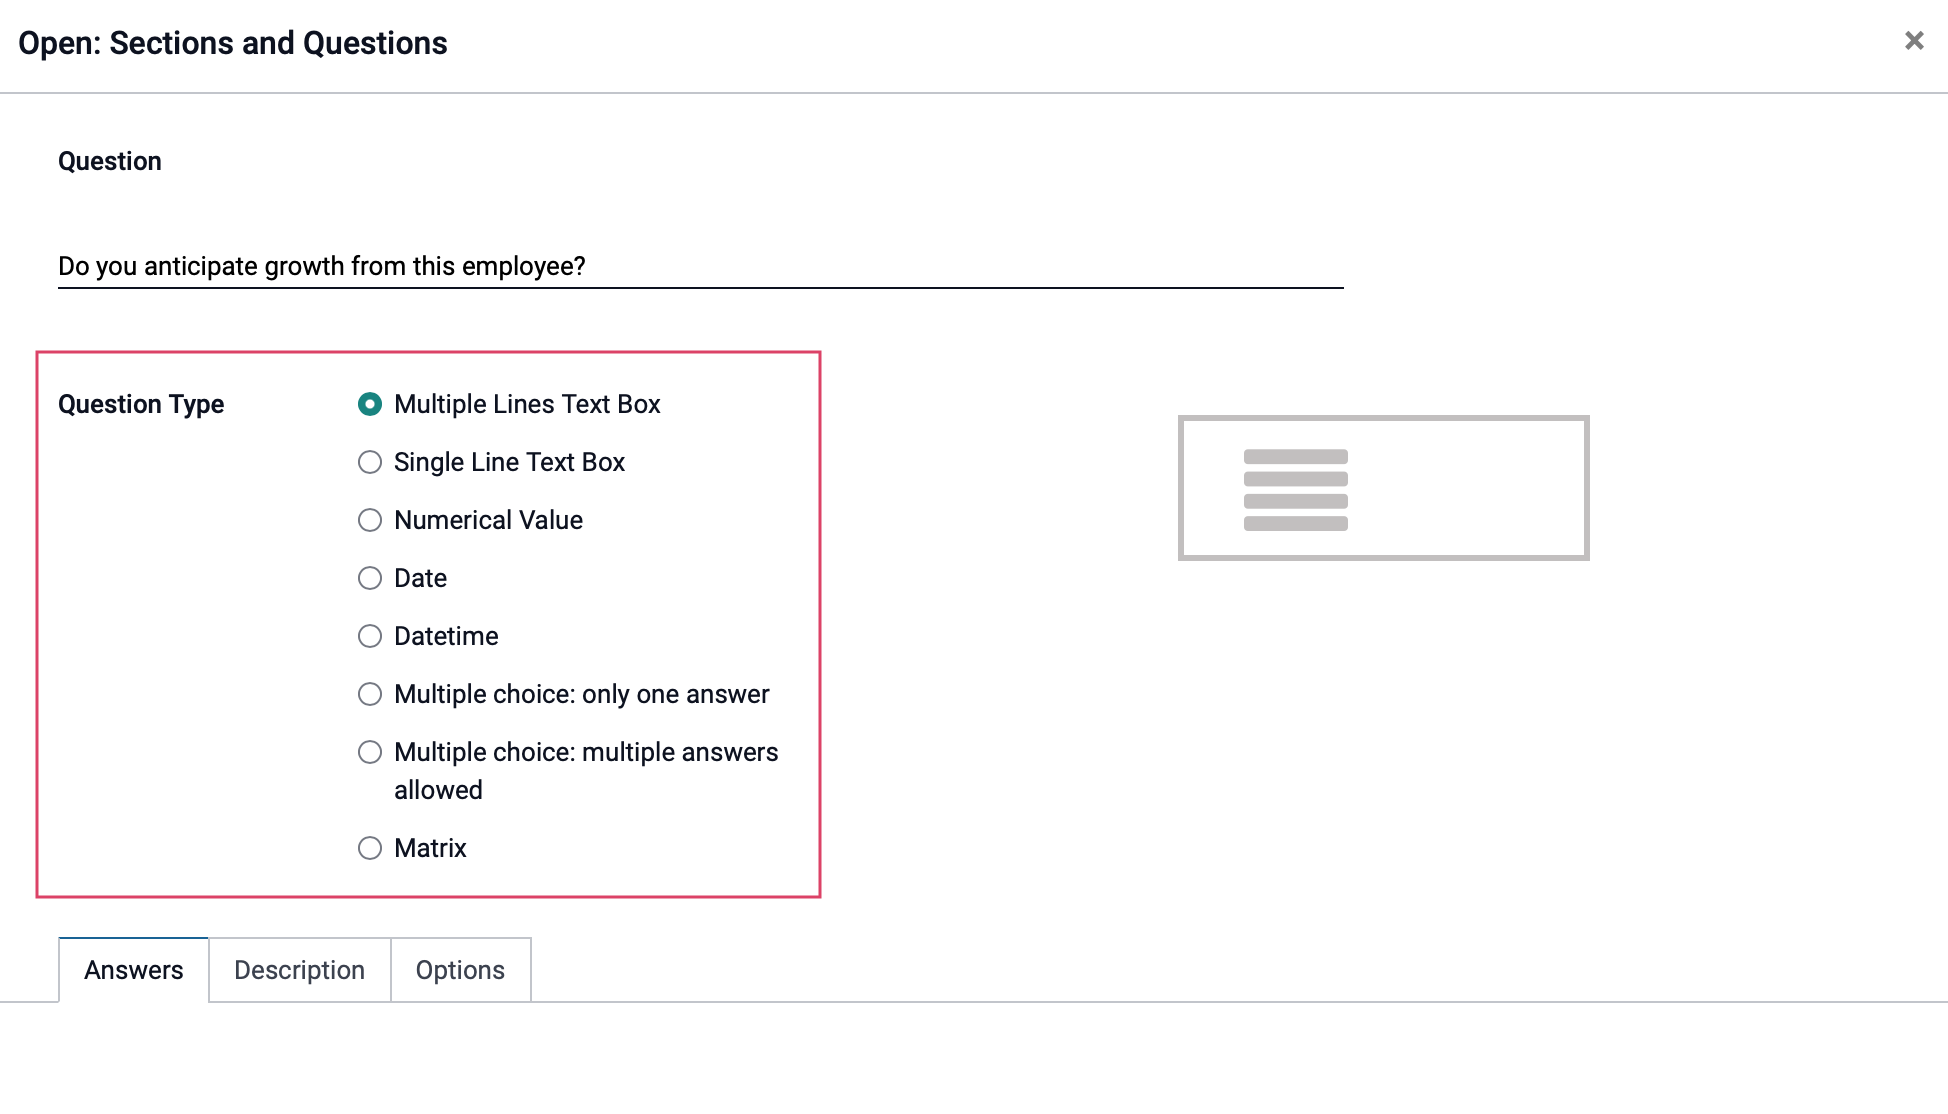
Multiple Lines Text Box: Allow a freeform text answer from the user.
Single Line Text Box: Allow a short, freeform answer from the user. With this question type selected, the Answers tab will give you the option to select whether the answer must be an email.
Numerical Value: Specify the answer must be a number, and note that punctuation such as dollar signs are not allowed.
Date: Answer must be a date.
Multiple Choice, Only One Answer: Create several answer options, but only one can be selected.
Multiple Choice, Multiple Answers: Create and allow several answers to be submitted, similar to a checklist.
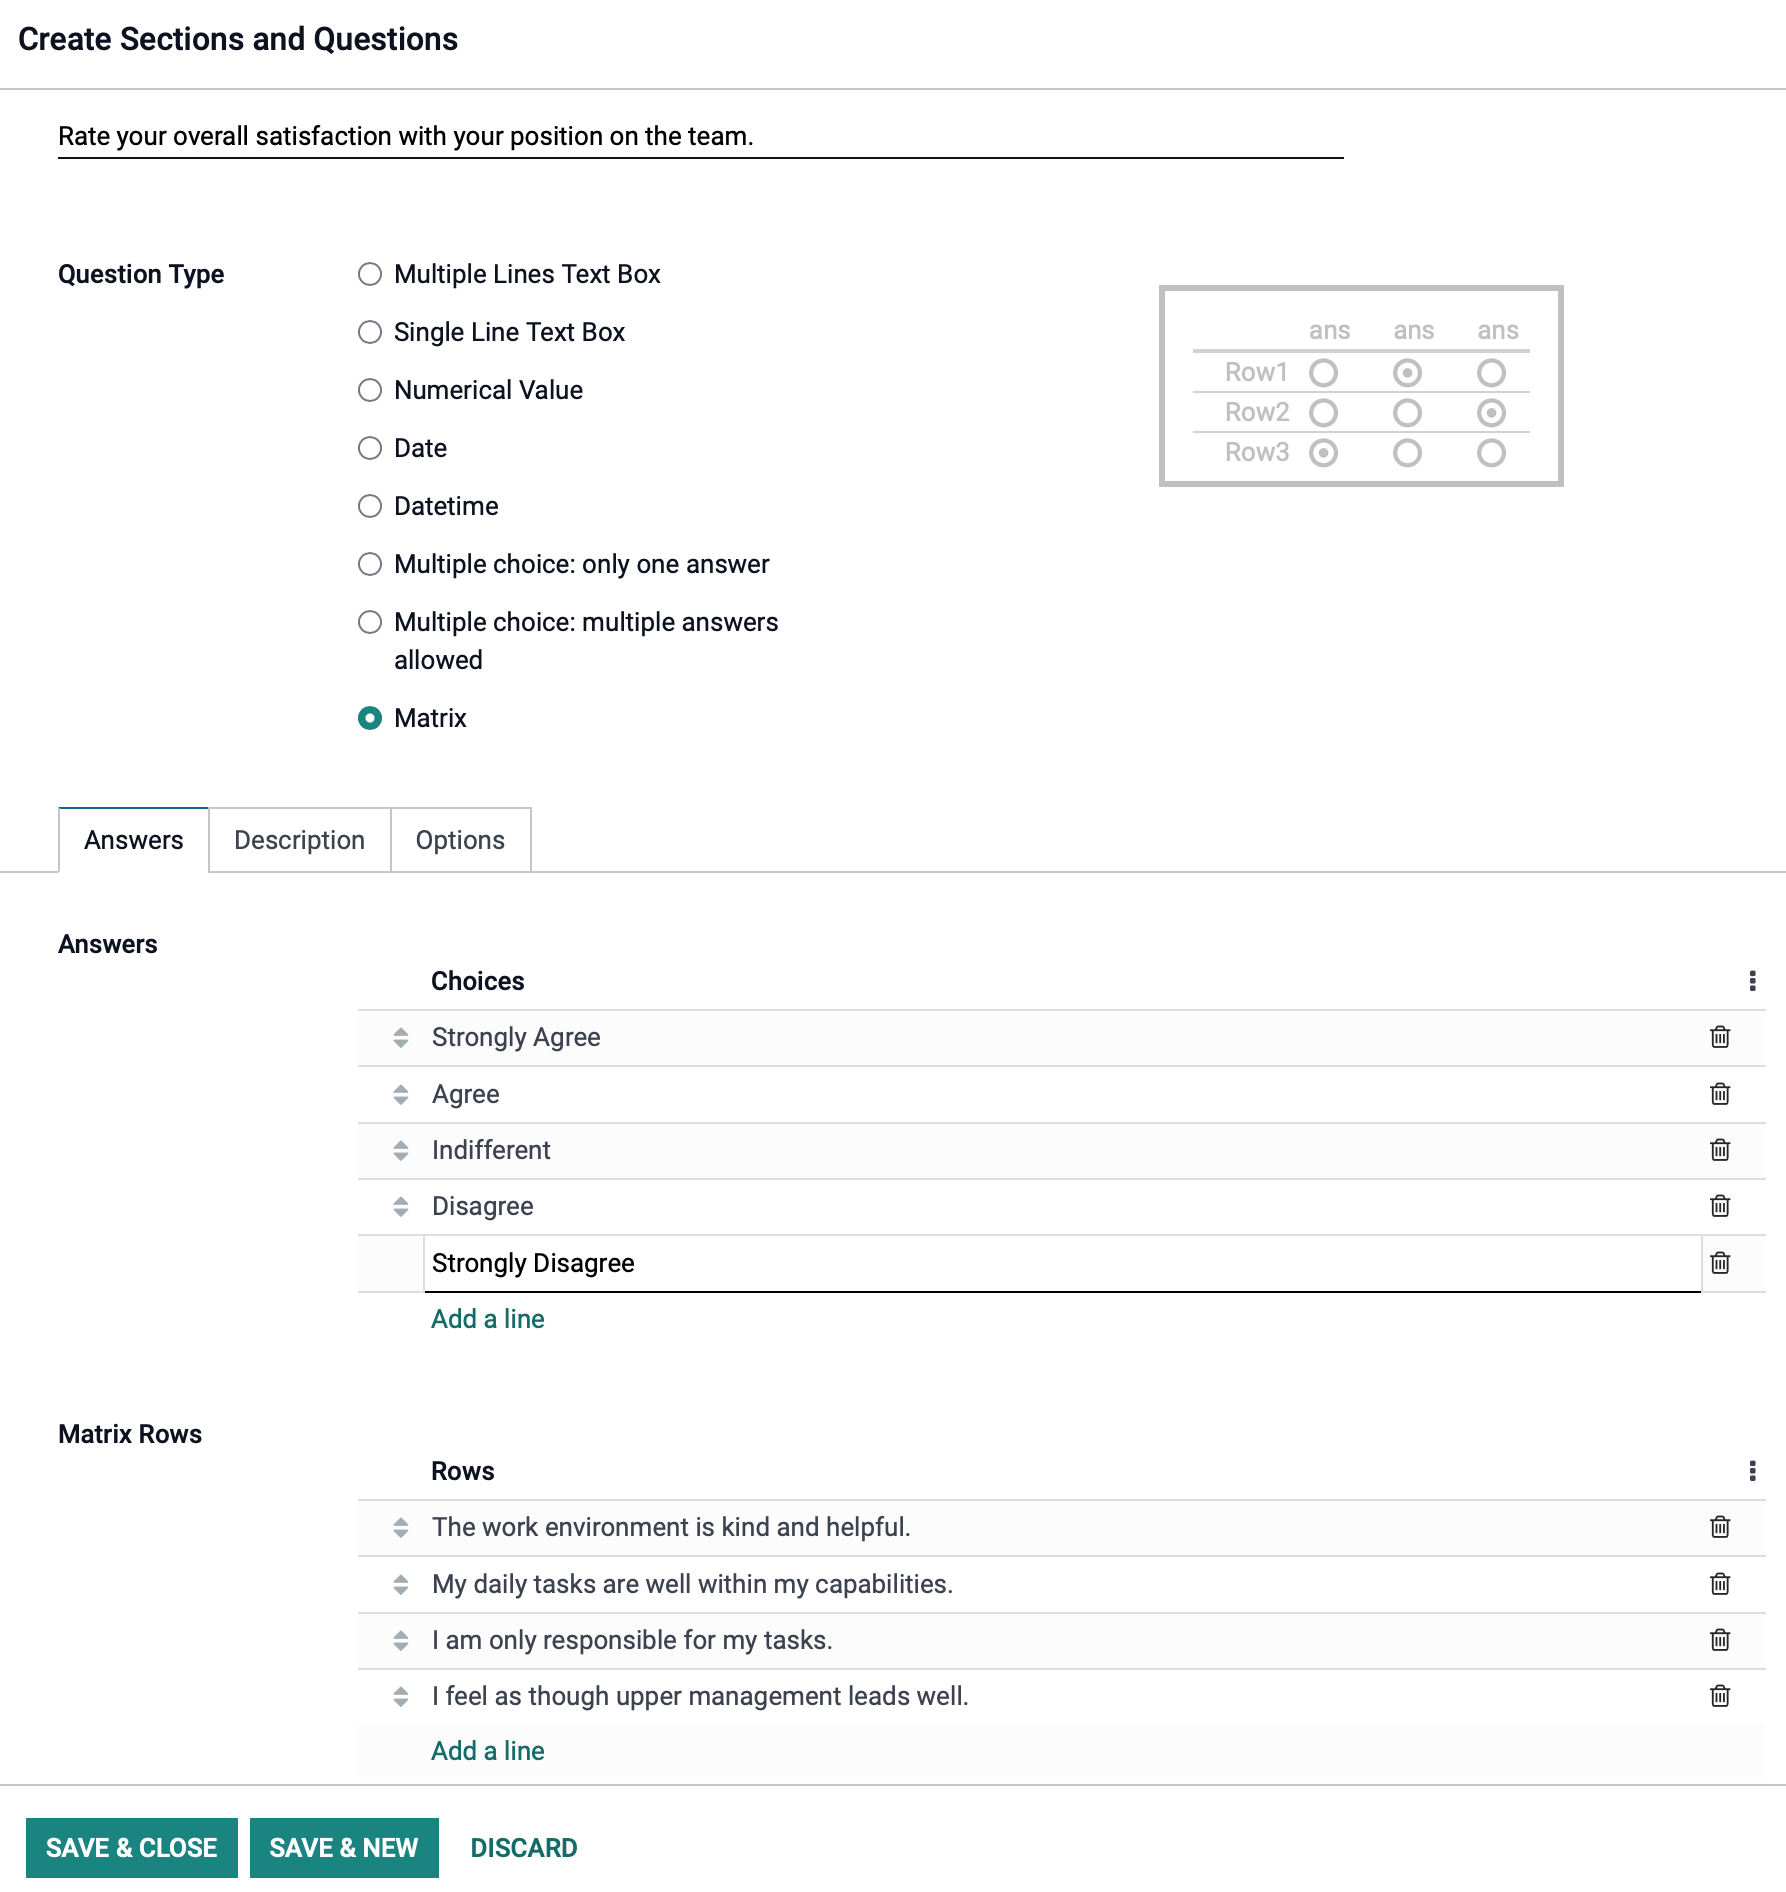
Matrix: Provide a series of prompts and have users select 'ranked/rated' answers. Multiple answers can be used here as well, if desired.
Under the Answers tab, select add a line to create an answer value where applicable. As matrices are a little more complicated, the below pictures outlines a theoretical use case and the resulting question structure.
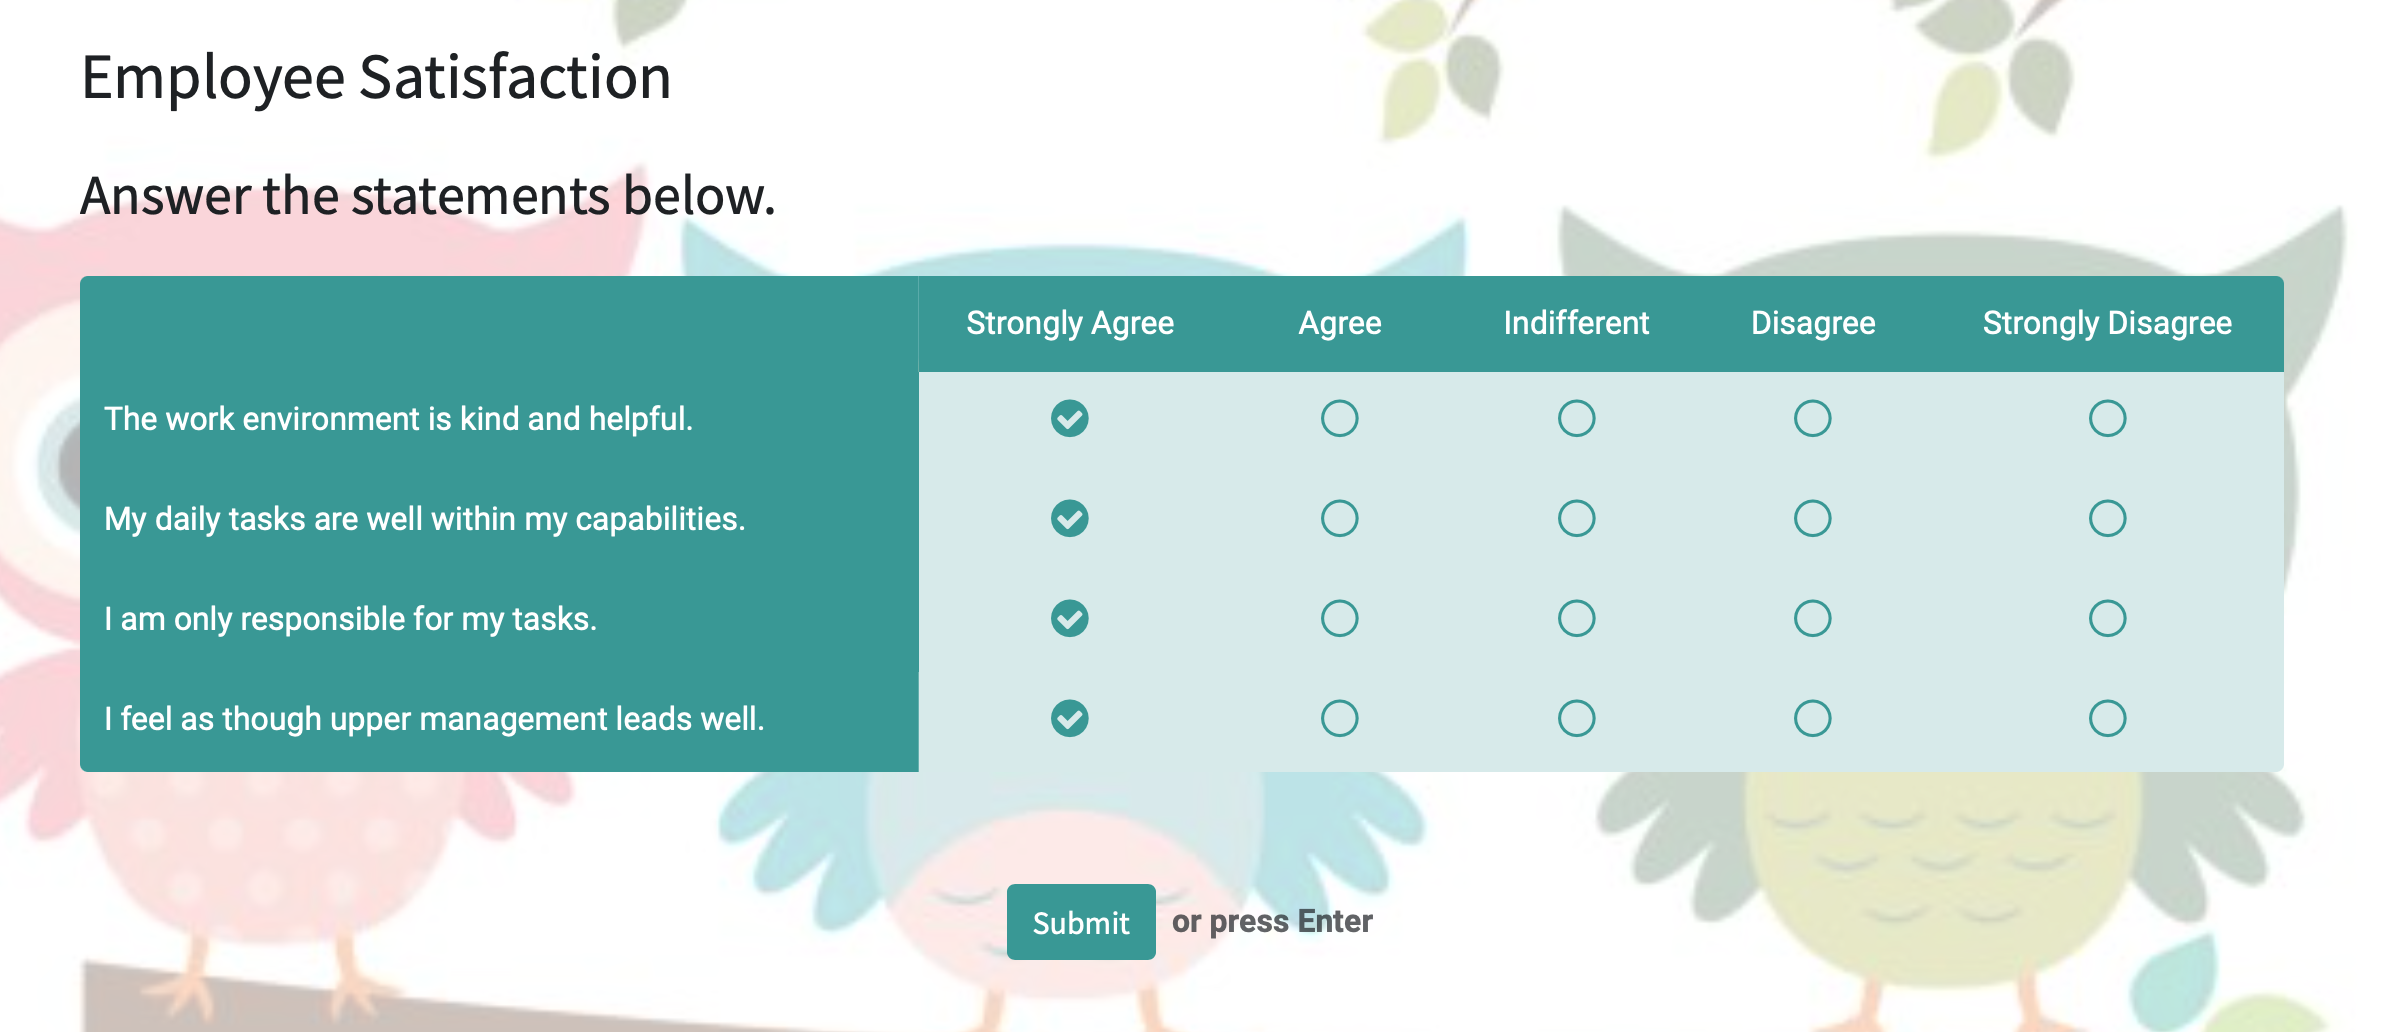
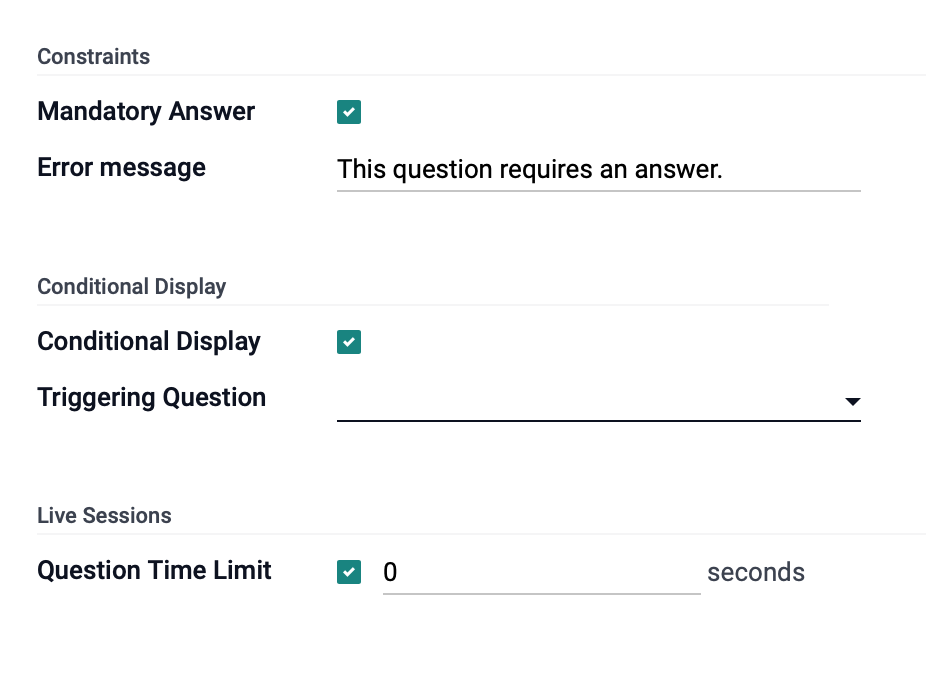
Also available under the Options tab on each question are Constraints regarding skipping the question, and whether matrices allow multiple answers per row.
When done outlining the page and their respective questions, click Save.
Testing a Survey
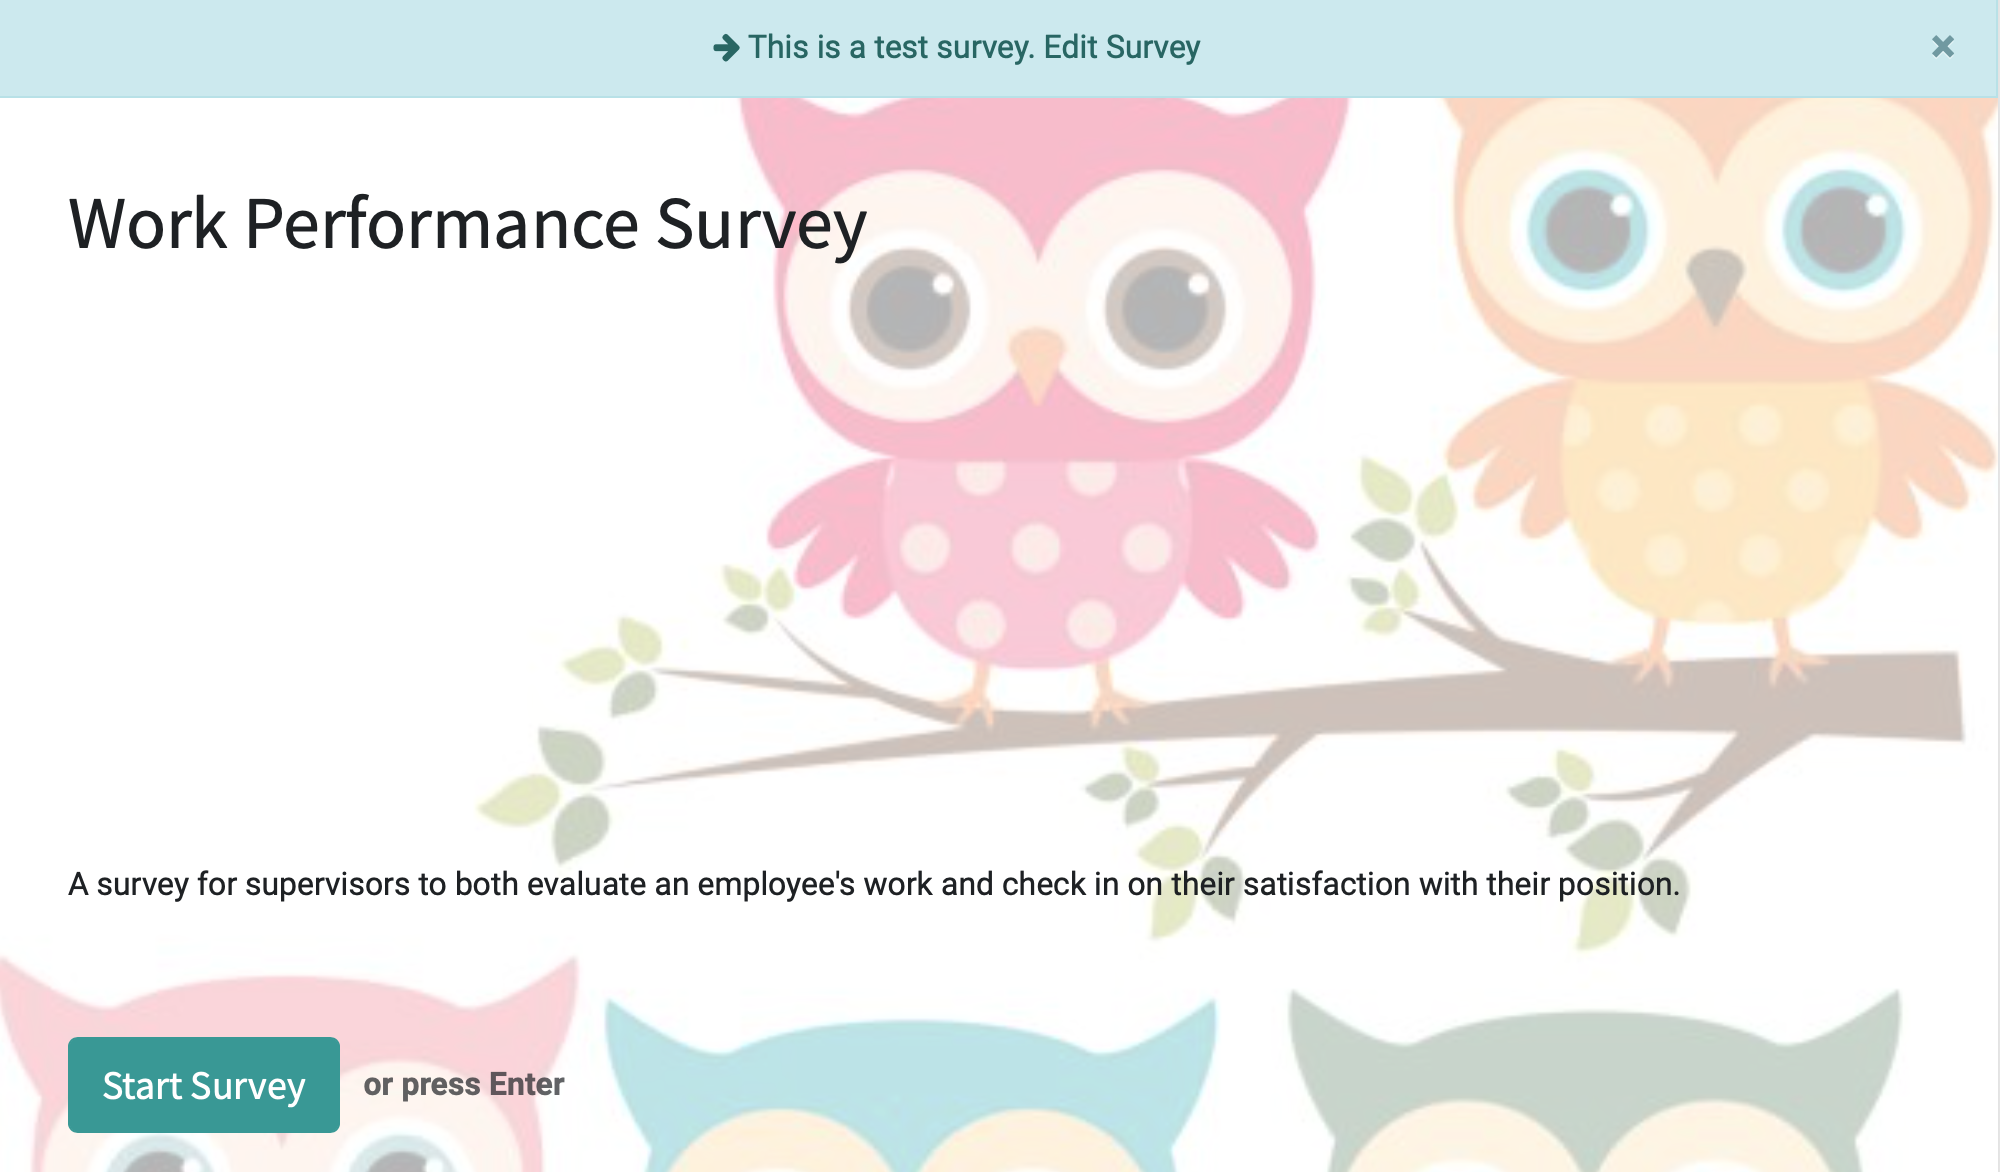
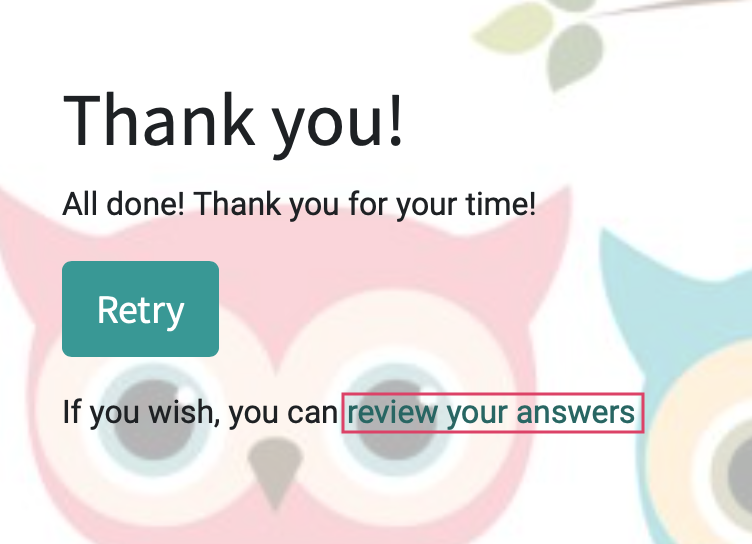
Once the survey is built, you will have the option to test it before sharing it with users. In the top right corner of the window, there is a test button that will start the survey as though you were a user logging into view it on the company website. When you complete it, it will log your answers for review, and those can be accessed through the Answers smart button.
This will open a new window in your browser:
Viewing Results
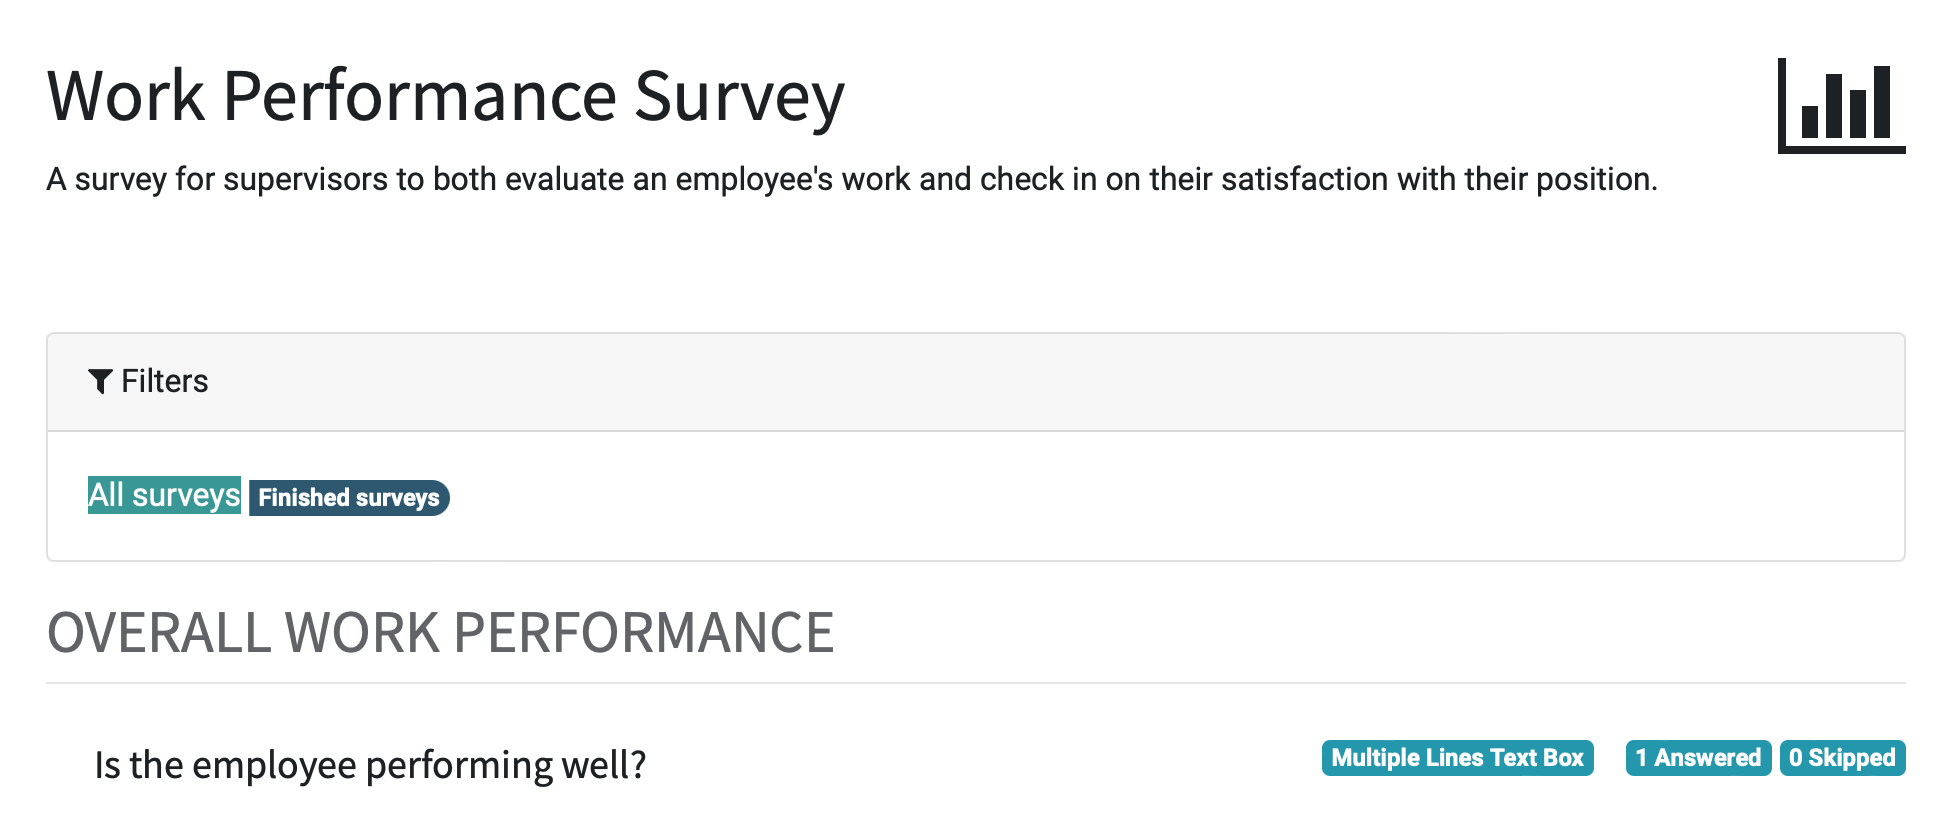
The See results button will take you to a report of the answer data, allowing for analysis on the number of questions skipped, the most common answers.
Sharing the Survey
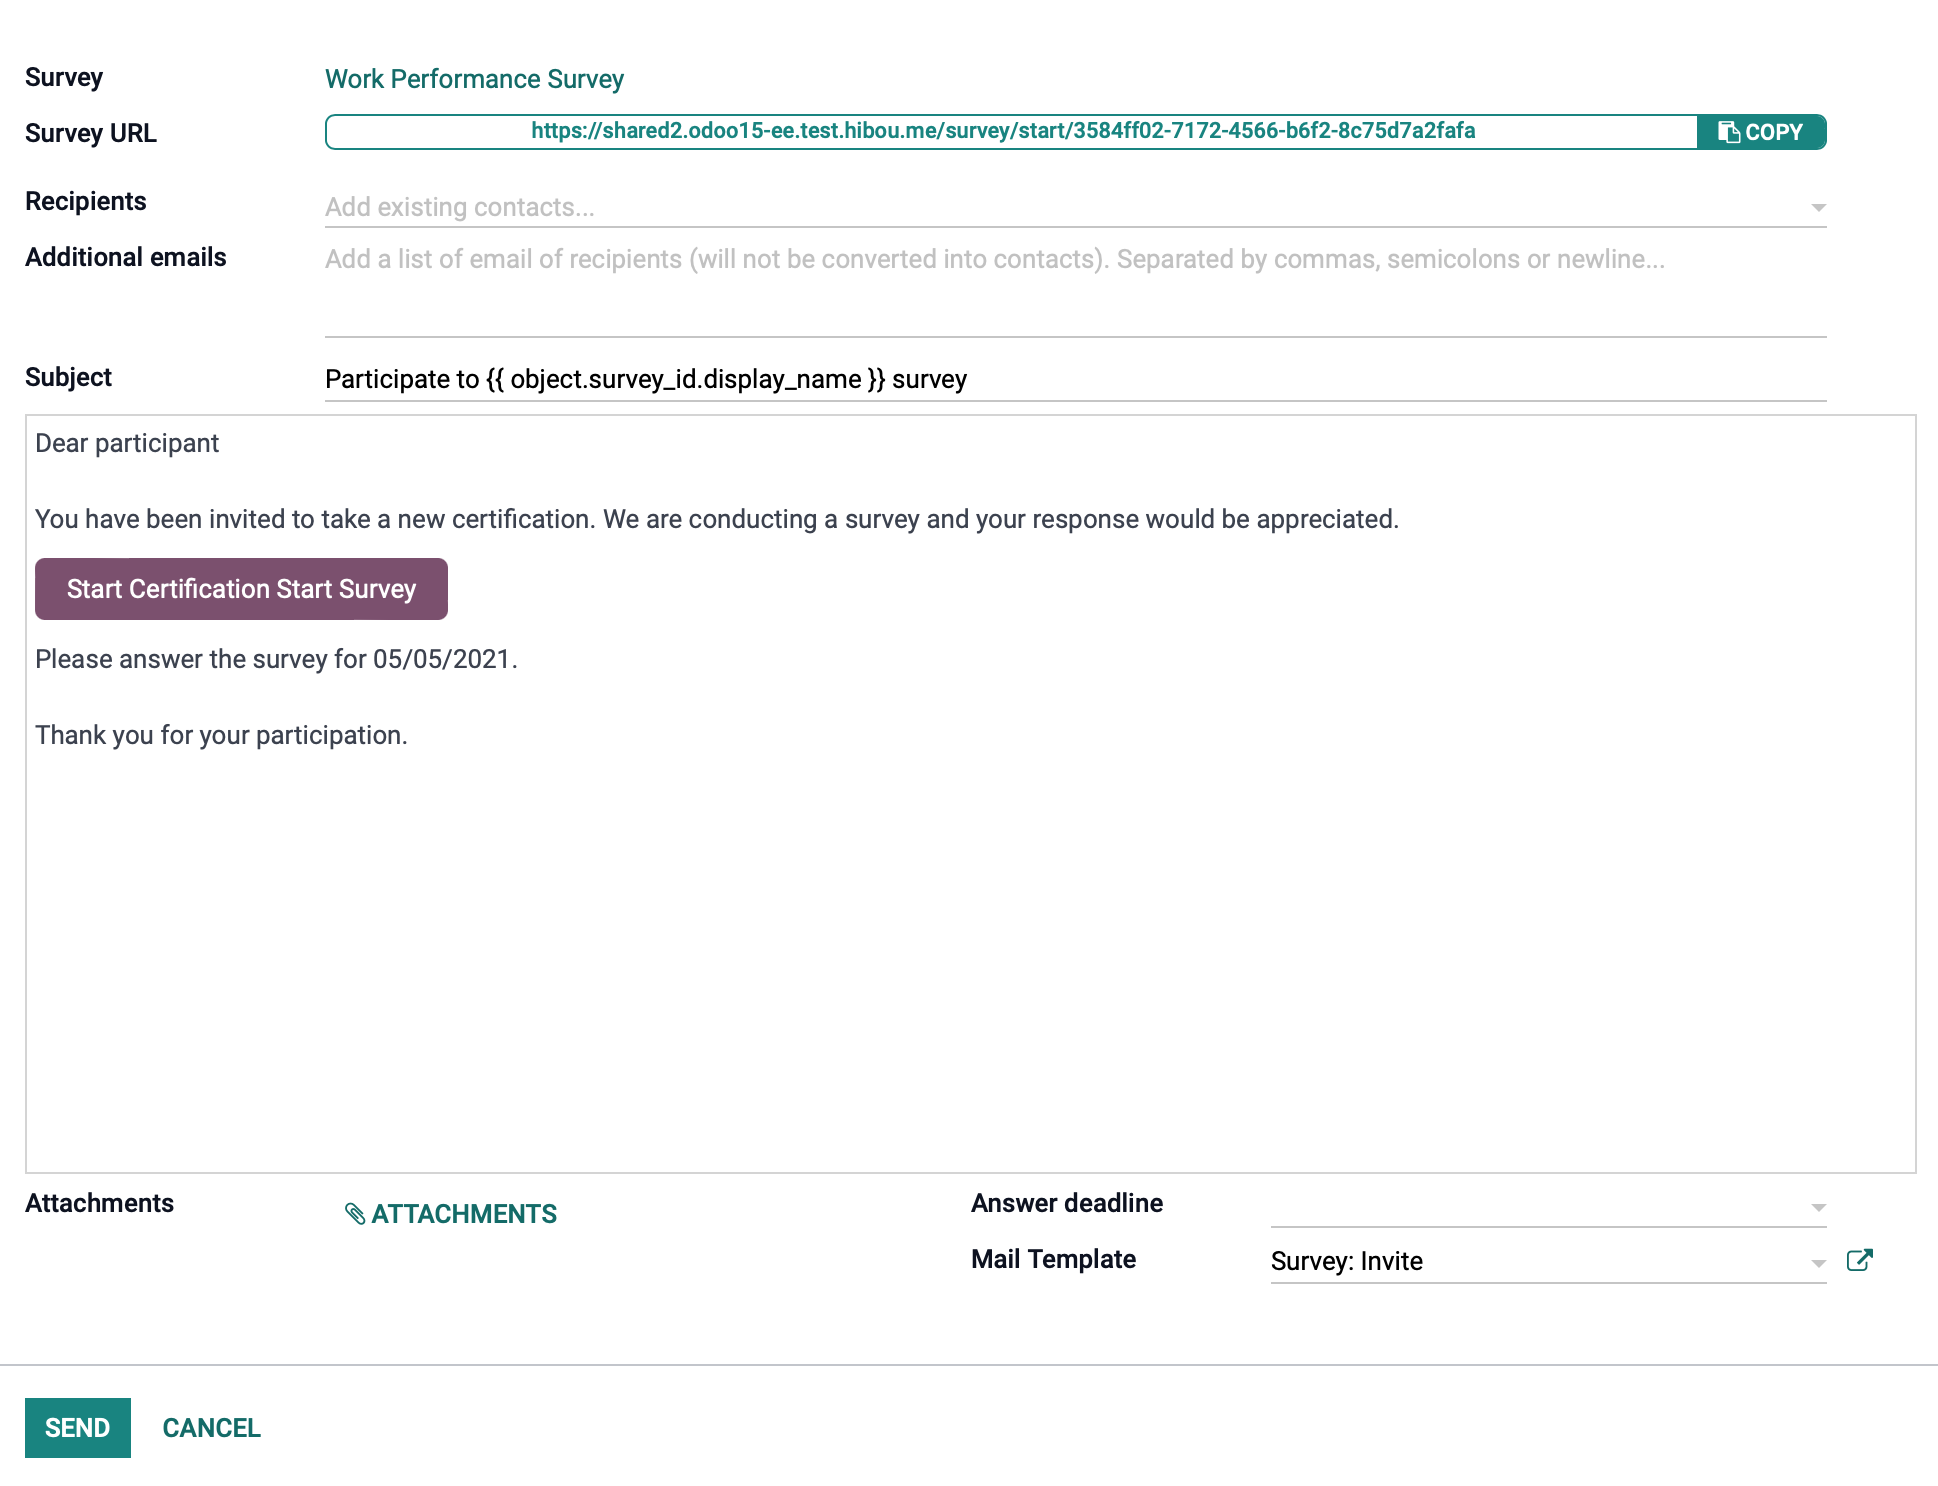
Print will create a blank, written format of the survey to be used in person. Otherwise, clicking Share will create a link that can be emailed to contacts within your Odoo database. If log-in is required, they will be prompted to create a portal user account before continuing to the survey questions.
You can share your survey via a public link and/or send private invitations to your audience. People can answer once per invitation, and whenever they want with the public web link (in this case, the "Login Required" setting must be disabled).

