Scheduling: Attendances
Purpose
The purpose of this documentation is to demonstrate and give an overview of the Attendances application of Odoo 16. The Odoo Attendances application functions as a time clock. Employees can check in and out using a PIN if desired, and management can see at a glance who is available at any given time.
Process
To get started, navigate to the Attendances application.
Kiosk View
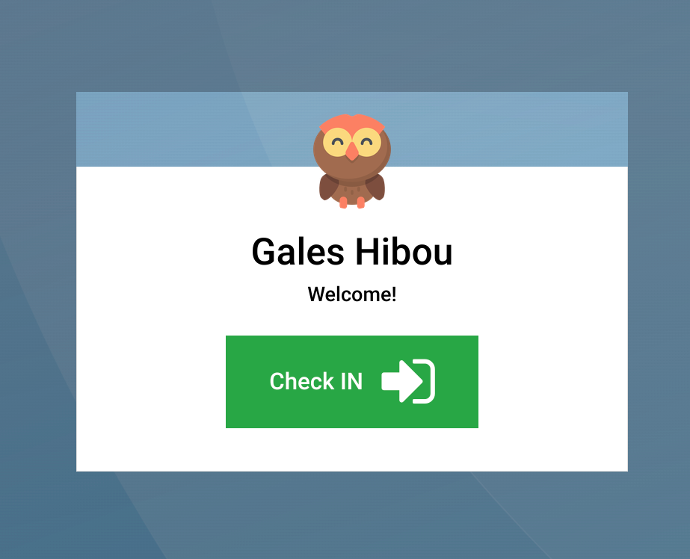
By default, the application opens to the kiosk view, allowing employees to quickly create a new check-in record.
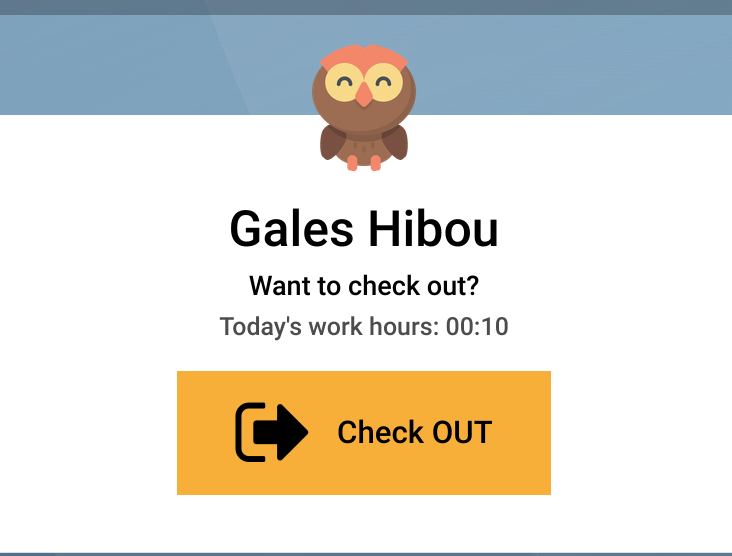
To check in or out, click the Icon. It is white to indicate checking in, and yellow to indicate checking out.
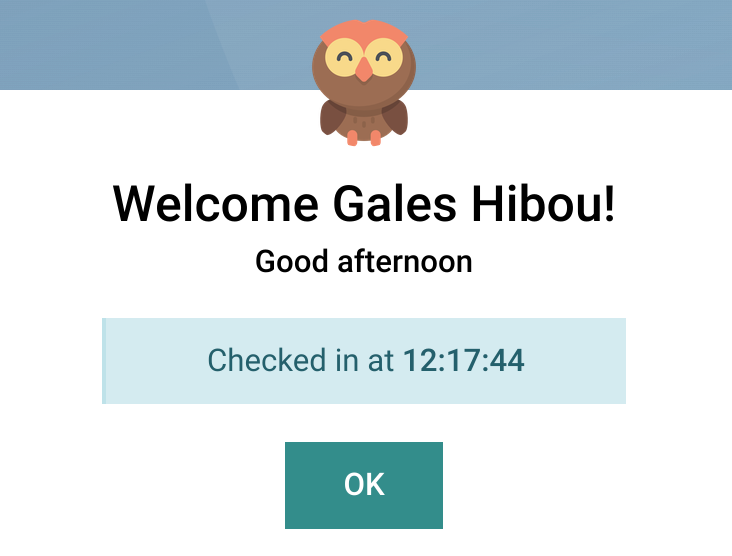
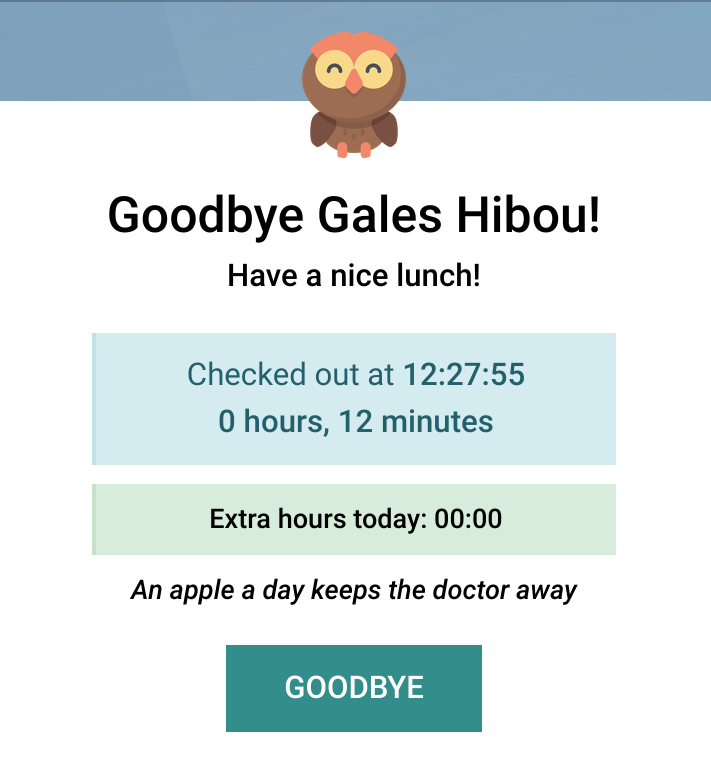
You'll then see the confirmation screen. This message will disappear after five seconds, or you can click OK to dismiss it immediately.
To check-out, click the yellow icon.
You'll then see the confirmation screen. This message will disappear after five seconds, or you can click OK to dismiss it immediately.
Managing Attendances
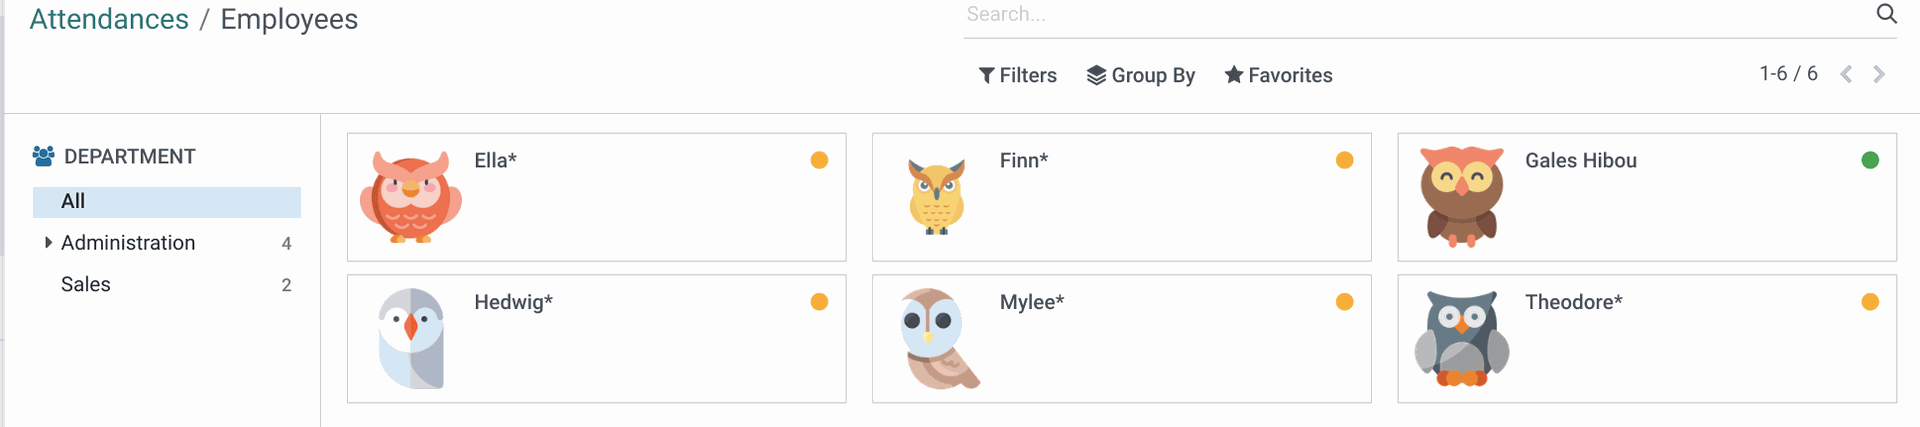
From the navigation menu, select attendances to see a list view of all current timeclock entries.
Managers can edit any record to edit the Check-in and Check Out timestamps, or create missing entries to assist forgetful employees.

Checking in with Badges and PINs
Note: The ability to clock in with a PIN is found under CONFIGURATION in the navigation menu.
For more information on setting up a Badge or PIN number, see our Employee Set-up document.
From the navigation menu, select Kiosk mode.
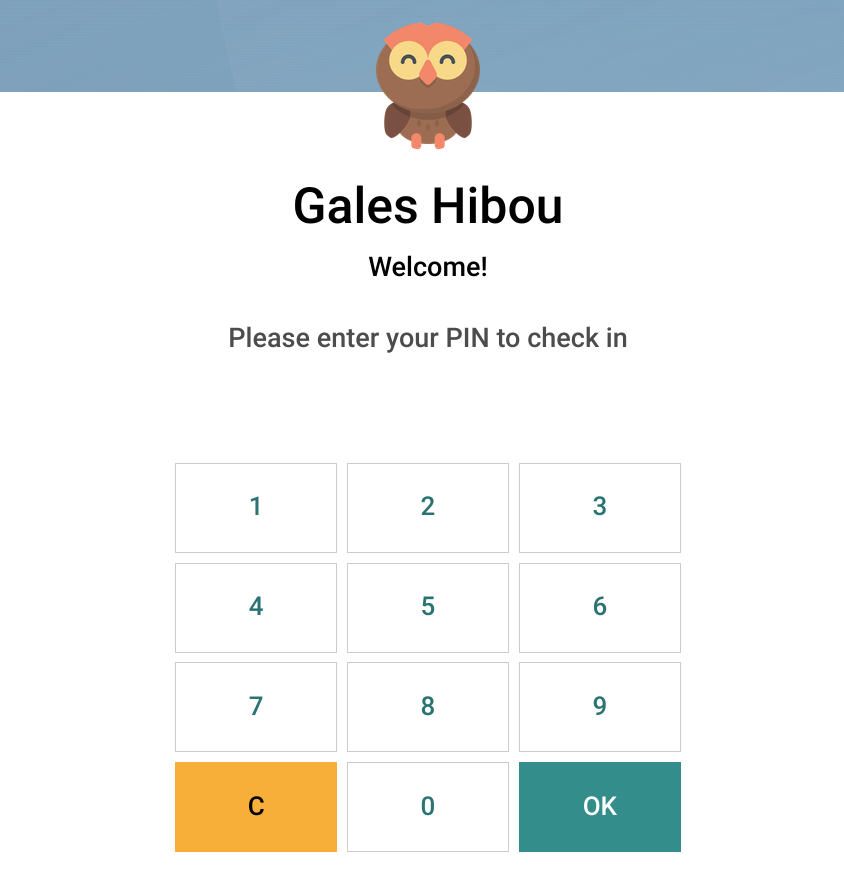
You will have the option to scan your badge barcode, or select employee and enter a PIN instead.
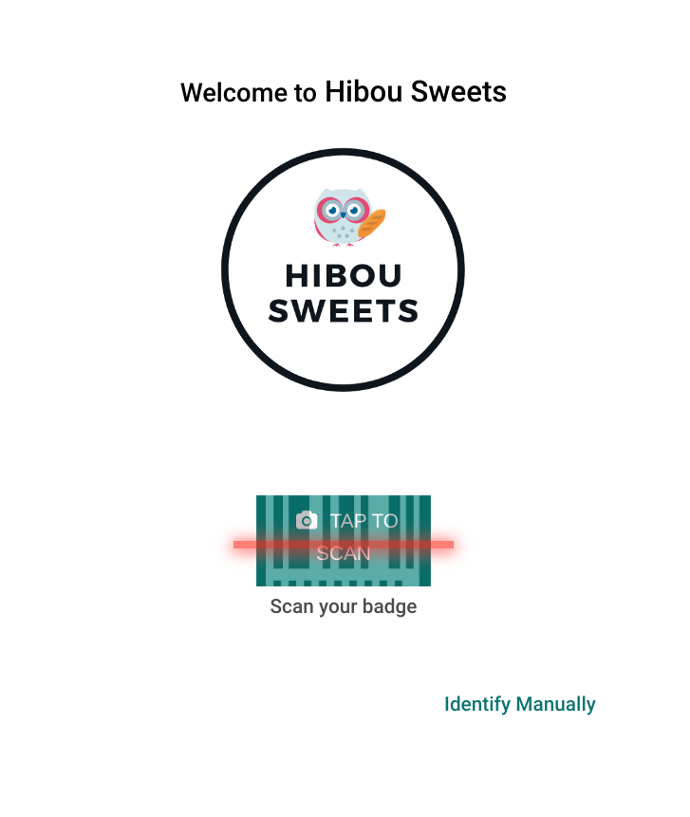
If you choose to login with the PIN, you'll then need to click Identify Manually and then select your employee record from the list.
From here you'll enter your PIN number and click OK. The current time will be displayed on the top of the screen.