Project: Project Workflows: Service Tracking from a Product: Create a New Project but No Task
Purpose
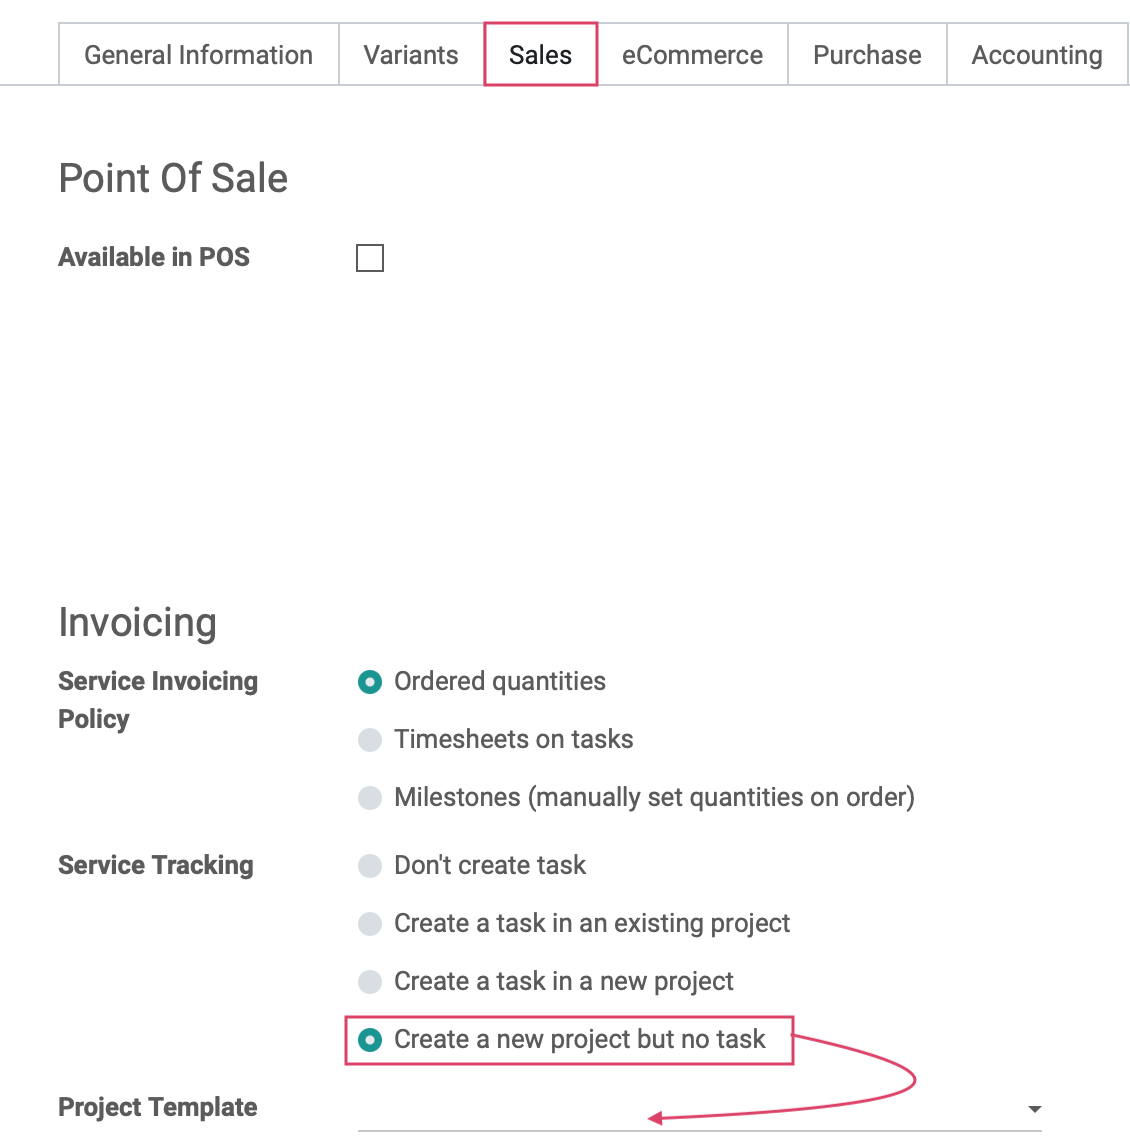
This document will show you how to configure a service product to create only a project from a confirmed sale order.
Important!
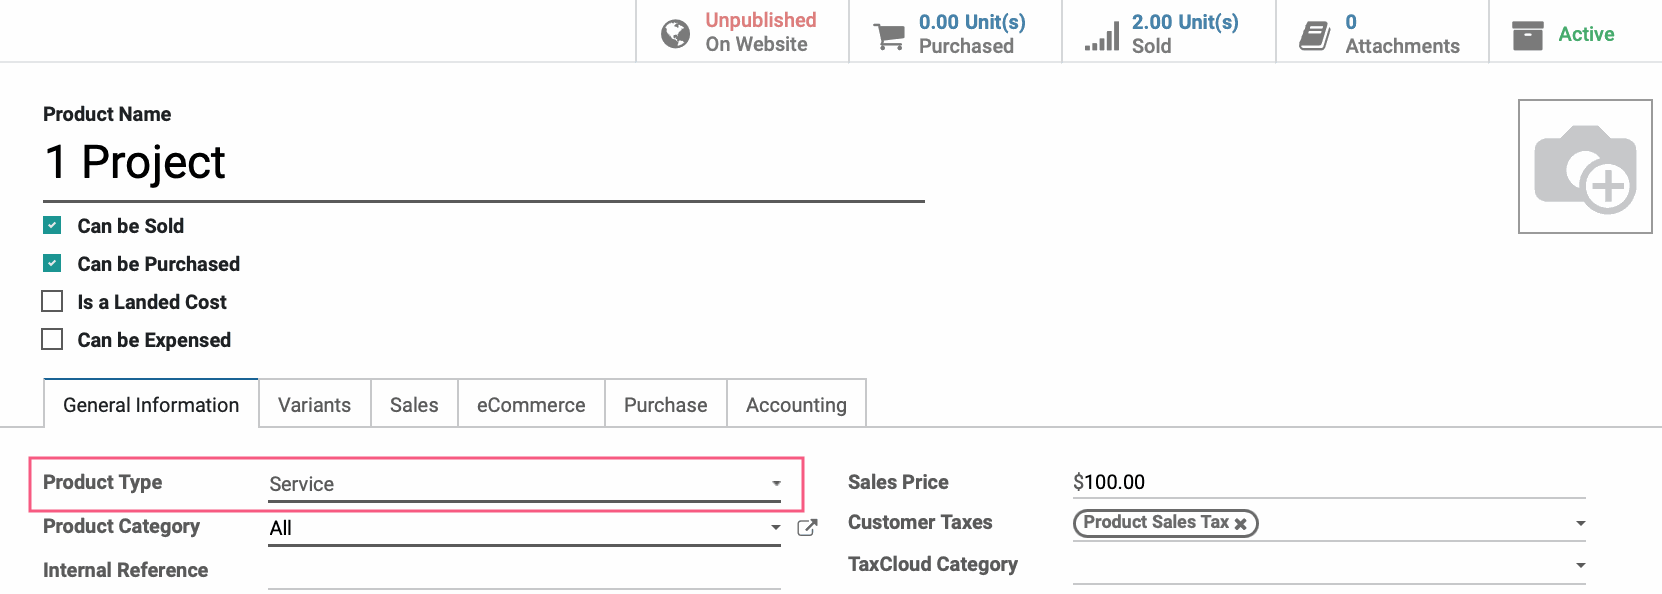
Products must be configured as Service products in order for them to generate projects and tasks. Follow the guidelines in the Product Creation document. The steps below will build upon your preconfigured service product.

To create a project, follow the Basic Project Workflow documentation.
Process
To get started, navigate to the Inventory app.

Configure the Service Product
Click Master Data > Products, filter for Services and select the service product that should set up tasks or projects upon a confirmed sales order.

When done, click Save.
Create a Sales Order
Navigate to the Sales app.

Click Create and complete the form as indicated. Many of these fields will auto-populate, based on the customer's data:

Customer: Select the appropriate customer.
Invoice Address: Customer's mailing address for invoicing.
Delivery Address: Customer's delivery address.
Quotation Template: The base template used for this quotation.
Validity: The date the quote will expire.
Pricelist: Customer's default pricelist.
Payment Terms: Terms of payment (pay on order vs. pay on delivery).
Payment Mode: Select method of payment.
Shipping Account: Select an account from any available shippers.
Under Order Lines, click Add a Product and enter the service product you configured above, as well as the Quantity.

After the product and quantity are added, click save then click confirm.
Review the Created Task
After confirming the Sales Order, the page will reload.
At the top of the Sale Order you'll see a new smart buttons added called Project Overview. Click the PROJECT OVERVIEW button.

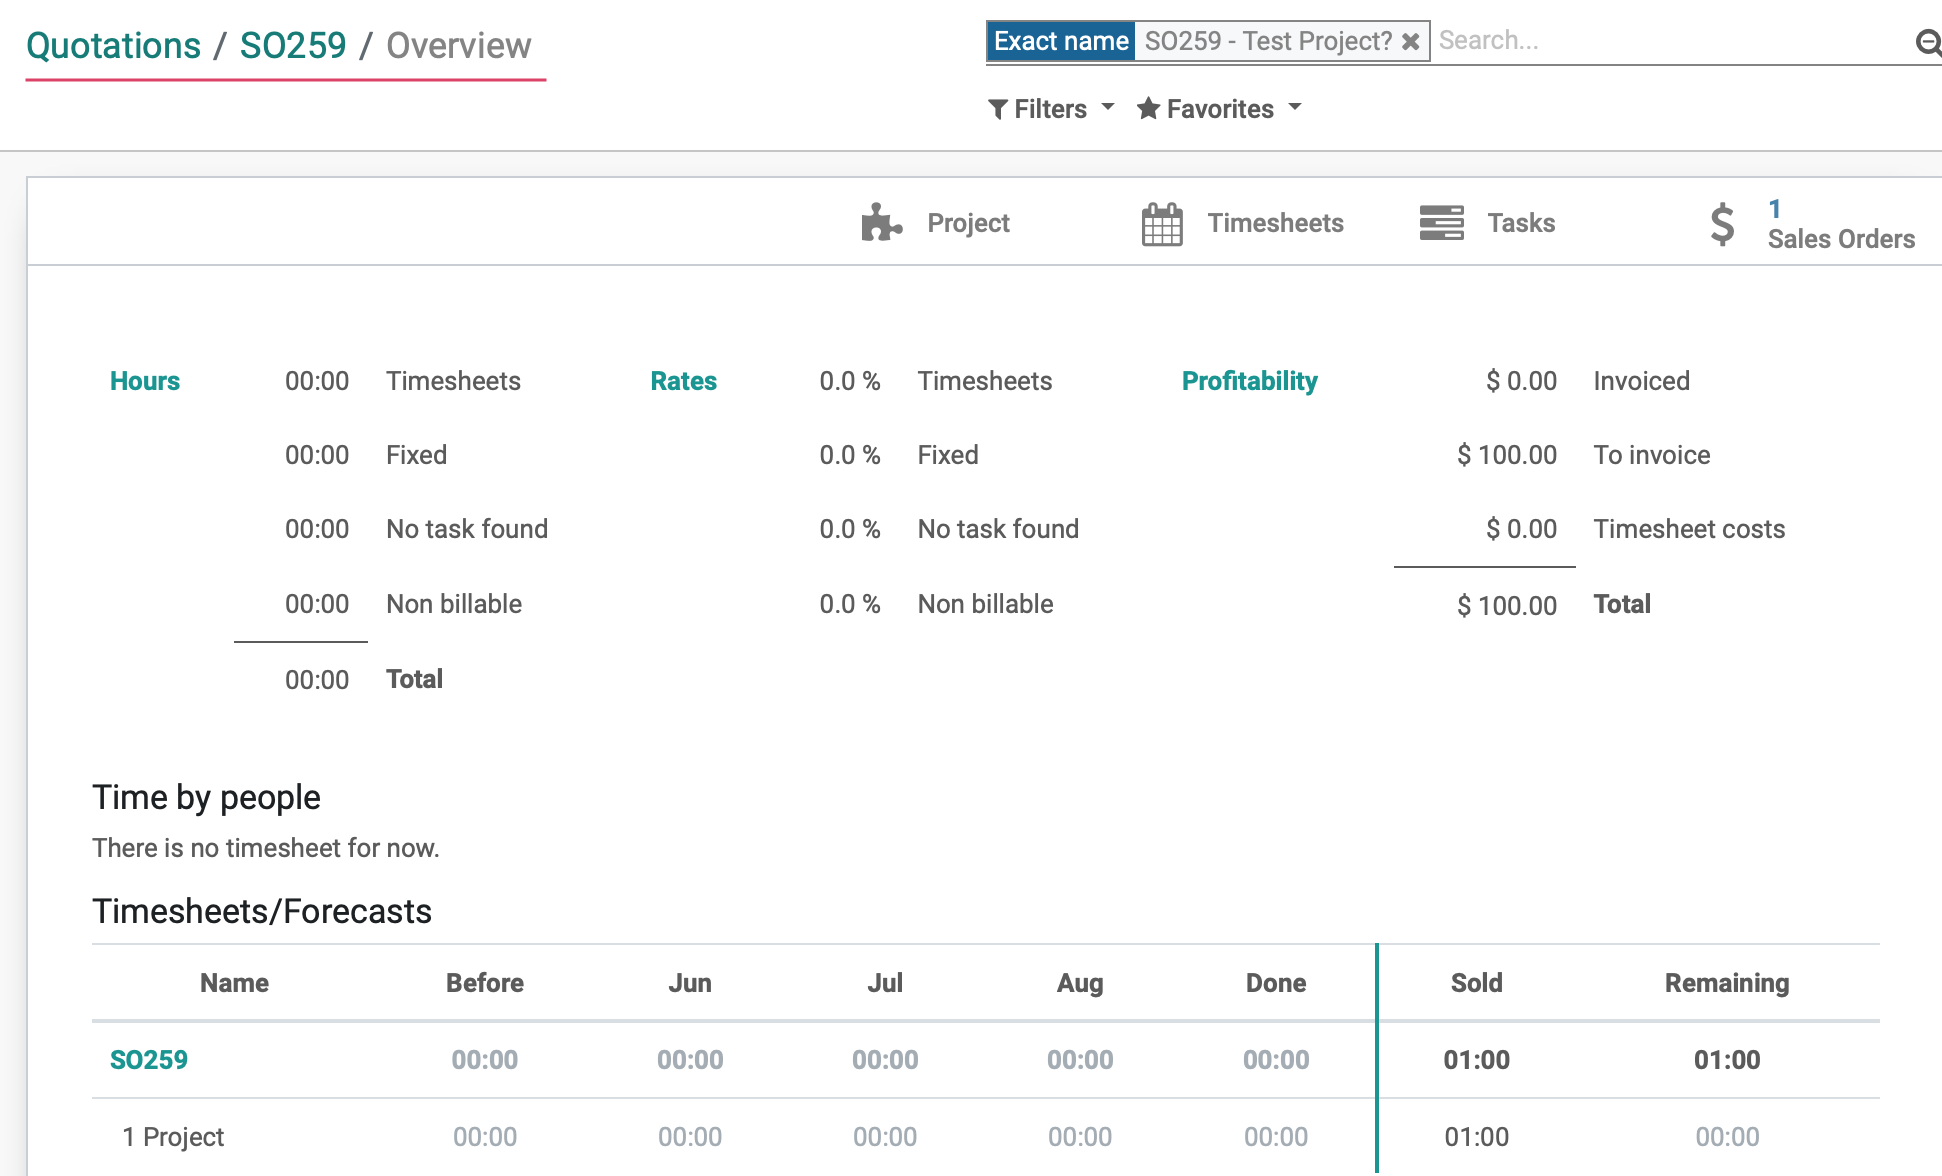
Here you'll see the summary page of the new project that was just created from this Sales Order. The name of the project will match the Sale Order reference number (e.g. SO259).

Good to Know!
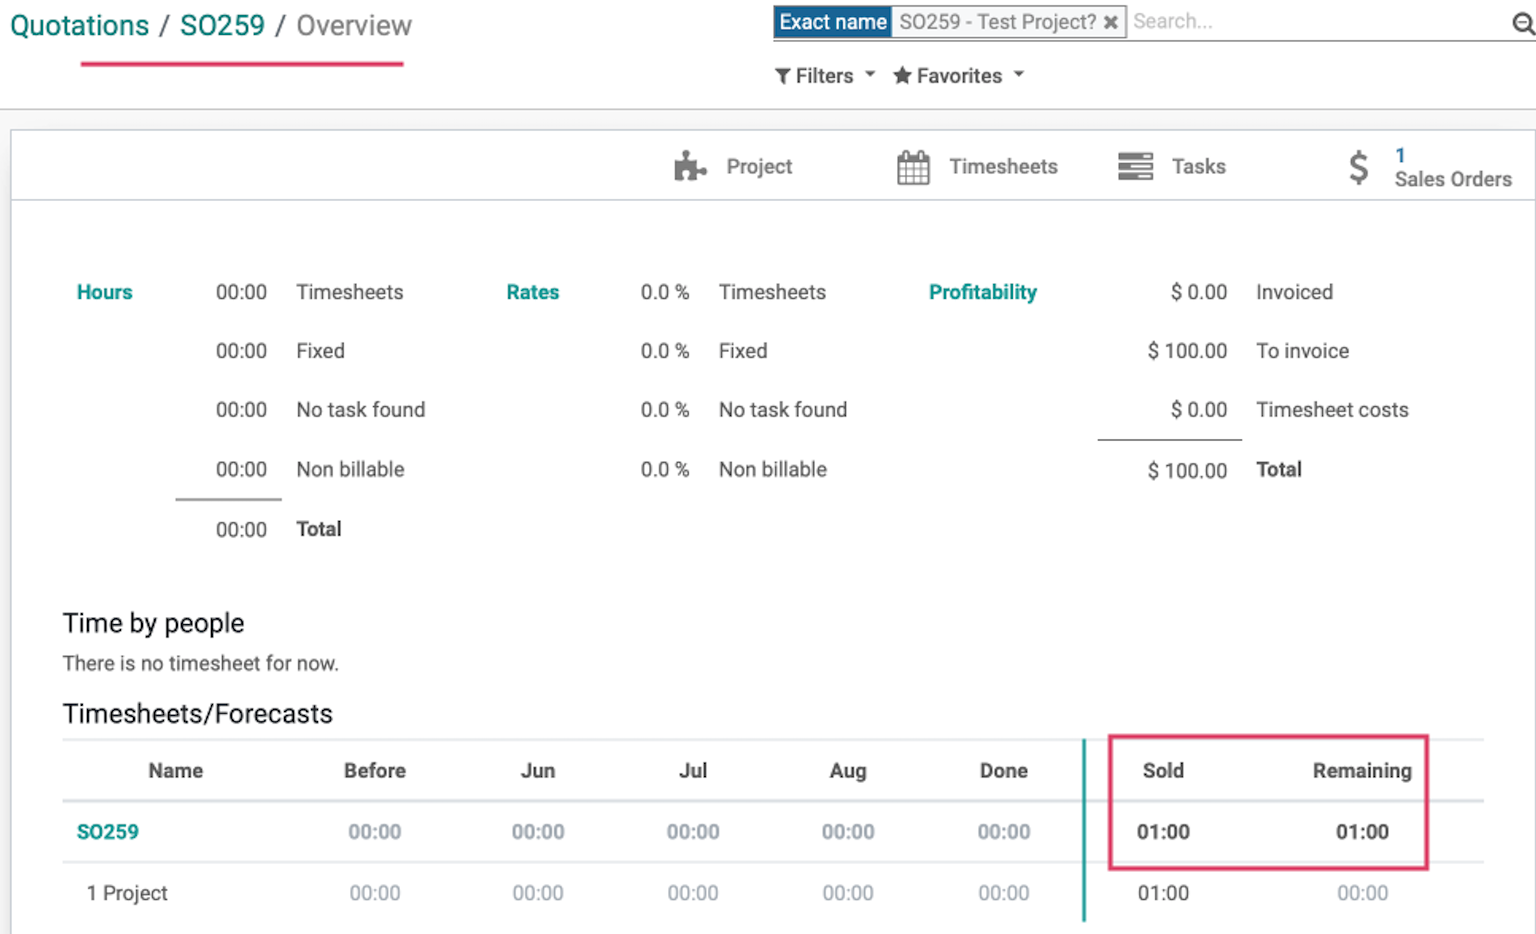
Ordered Hours Become Sold/Remaining Hours
Under the Timesheets and Forecasts section, you'll see Sold and Remaining Hours listed as 01:00. This is because we added one hour of this service product to the original Sales Order.

