Sales: Products: Coupon Programs
Purpose
The purpose of this document is to explain the configuration and usage of Coupons in the Odoo 14 Sales app. Coupons are discount codes that are manually applied to Sales Orders and e-commerce purchases.
Process
To get started, navigate to the Sales app.

Click configuration >settings. Under the Pricing section, ensure Coupons & Promotions is enabled.
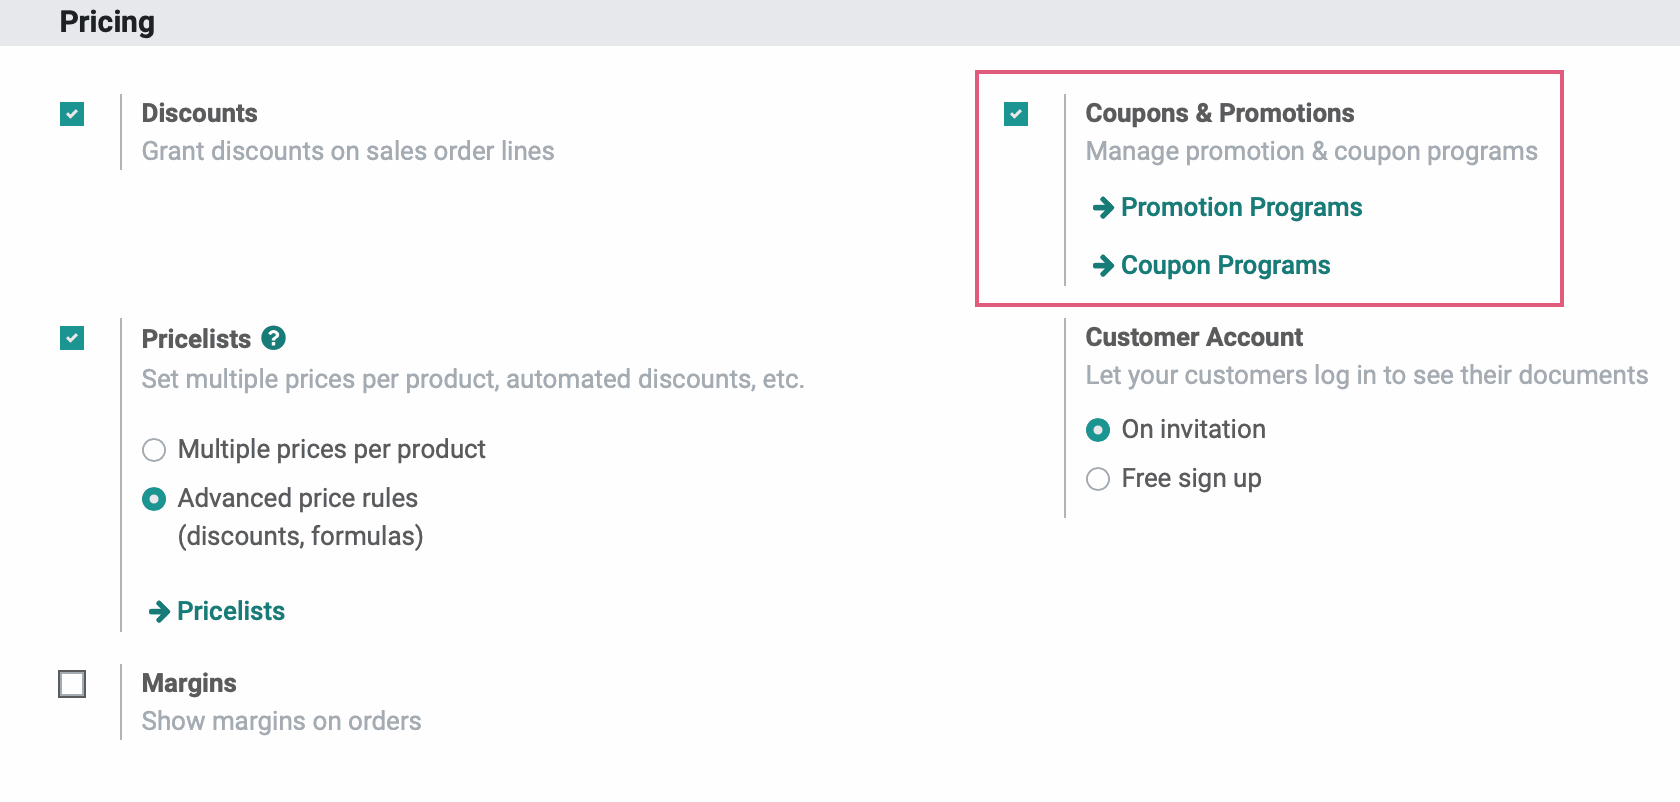
If you've made changes, click Save.
Creating Coupons
Click PRODUCTS > COUPON PROGRAMS.
From this page, you'll see all of your existing coupon programs listed and whether or not they're currently Active.
Click CREATE to add a new coupon program.

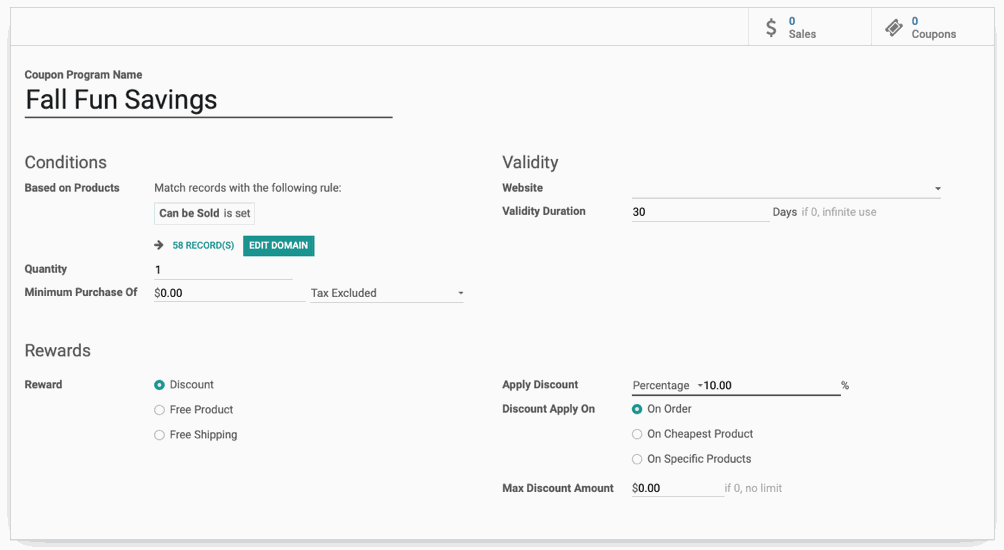
Program Name: Enter the name you would like to set for your coupon program. This will display on the line item for your Sales Orders.
Conditions
The first step to creating your coupon program is to define the circumstances that this batch of coupons can be used under. You can define your parameters as loosely or tightly as you see fit for each of your programs by adding conditions onto the Domain of the coupon program.
Good to Know!
You'll often see Odoo refer to filtering records down to subsets as "Domains". Simply put, everything you specify as being a part of the Domain will be impacted by whatever record you're on.
So, for our purposes, when we set the Domain on the coupon program, we are filtering down our entire product catalog into a smaller sub-set of products that this coupon can be applied to.
When you add more than one condition in the Domain modal window, you'll have the option to choose whether you want the coupon to apply if All of the conditions are met or if Any of the conditions are met.
By default, Odoo filters using all conditions, but you can easily change it using the drop-down menu.
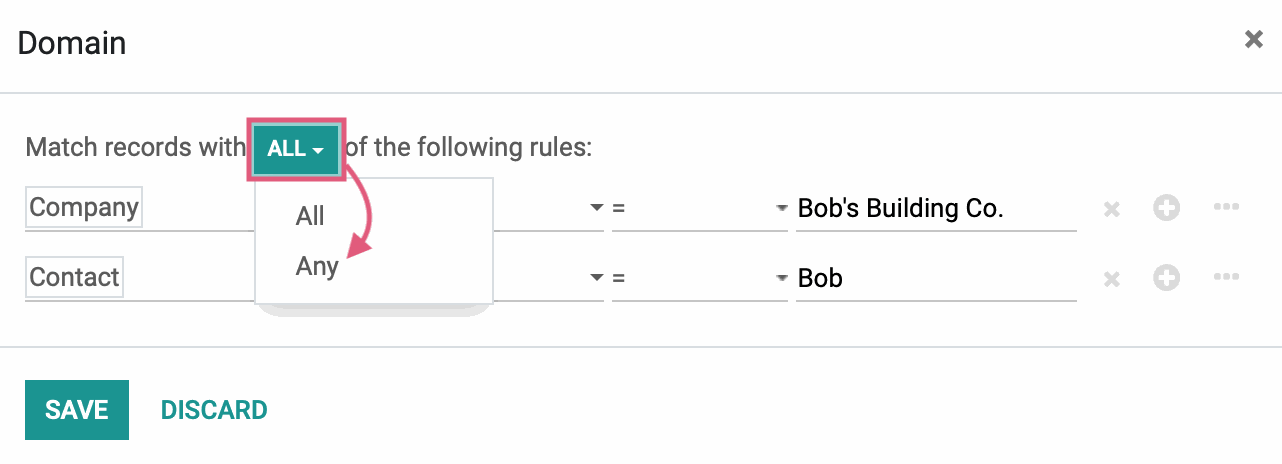
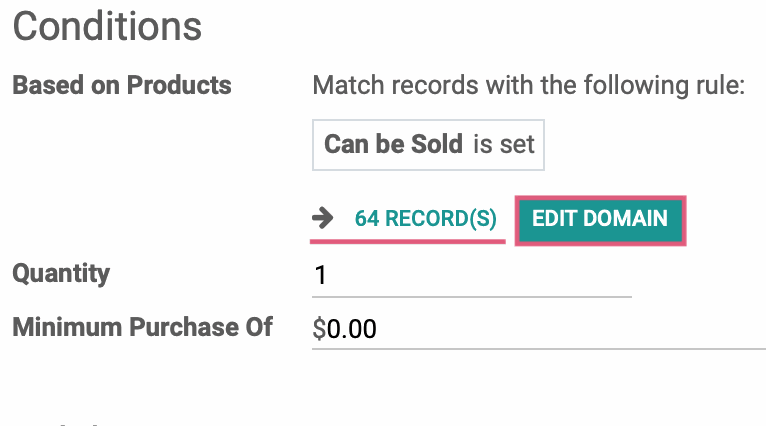
On the Domain modal window that will appear, you will automatically have one condition that you can set. Select the first field to filter by from the drop-down menu. Select your operator in the next field and value in the final field.
In the below example, we selected the condition of "Active", the operator of "is", and the value we wanted to target to "set (true)". This means that we want the products to be Active products, so this coupon cannot be applied to archived products.
Add more filters with the button, delete filters with the button, or narrow specific filters down even further (e.g. numerical ranges) with the More menu.
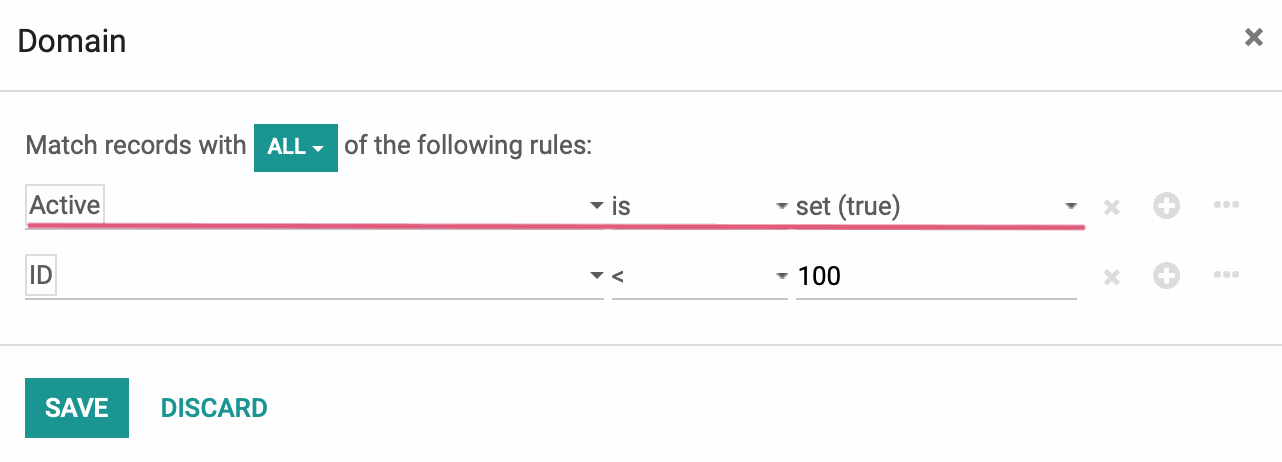
When you're done, click Save.
If your conditions return 0 records, then you'll want to modify your filters to be less strict. You can see a list of all of the products that will qualify for your promotion by clicking the # RECORD(S) button.
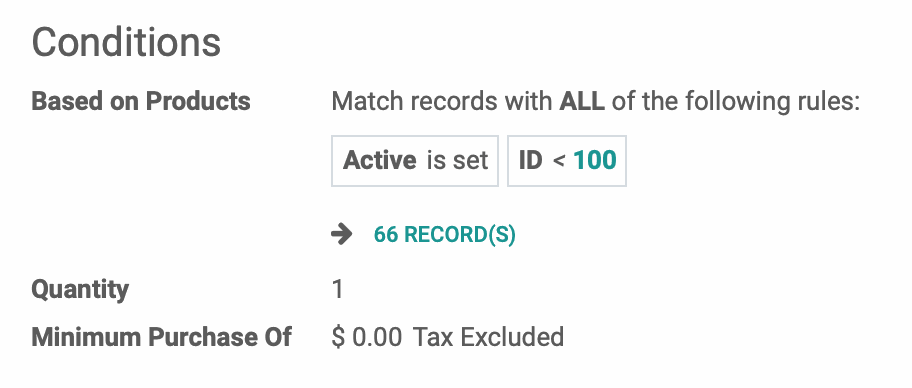
Quantity: Minimum quantity of the applicable products required to be in the cart or on the order before the coupon will apply.
Minimum Purchase Of: This is the minimum purchase amount that needs to be reached before the coupon can be applied. You can choose if you want the taxes to be included or excluded from this amount. This is based on the order total, not the total amount for a specific product line.
Company: If you are in a multi-company environment, you can specify which company this coupon will apply to. If left blank, this will default to your current company.
Validity

Website: Coupons will automatically be applicable across all of your websites. If you have more than one website and would like to restrict its applicability to only one of them, select which website you want this to apply to.
Validity Duration: This will set how many days the coupons generated from this program will be valid for after they are created. Set this to 0 if you want your coupons to never expire.
Rewards
This section allows you to configure the type of benefit your customer will receive when they use this coupon.
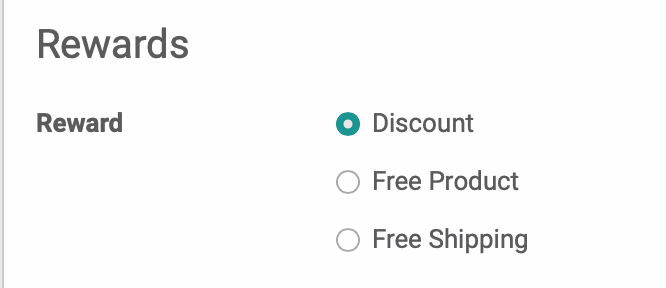
Discount: If Discount is selected, you will have the below options to configure for your Discount:
Apply Discount: You can set this to either be a percentage off or a fixed dollar amount off.

Discount Apply On: If using a percentage-based discount, you can set the discount to be applied on the entire order, on the cheapest product on the order or on a specific product (see next image) on the order. If using a fixed rate discount, the discount will apply to the order total.

Max Discount Amount: This is the maximum dollar value that can be discounted with this coupon program. In the following example, we've capped the discount at $10.00. This means a $200 product with a 10% discount coupon would not get a $20 discount because of this setting. They'd only get a $10 discount.

Free Product: If selected, then you will select the free product offered with this coupon along with the quantity.

Free Shipping: If selected, then any calculated shipping costs will be waived for the order.
When you're done with the configuration, click Save.
Coupon Codes
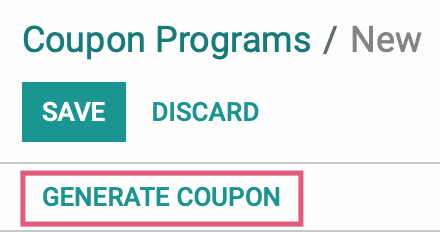
This will bring up a modal window allowing you to specify the number of coupons to generate.
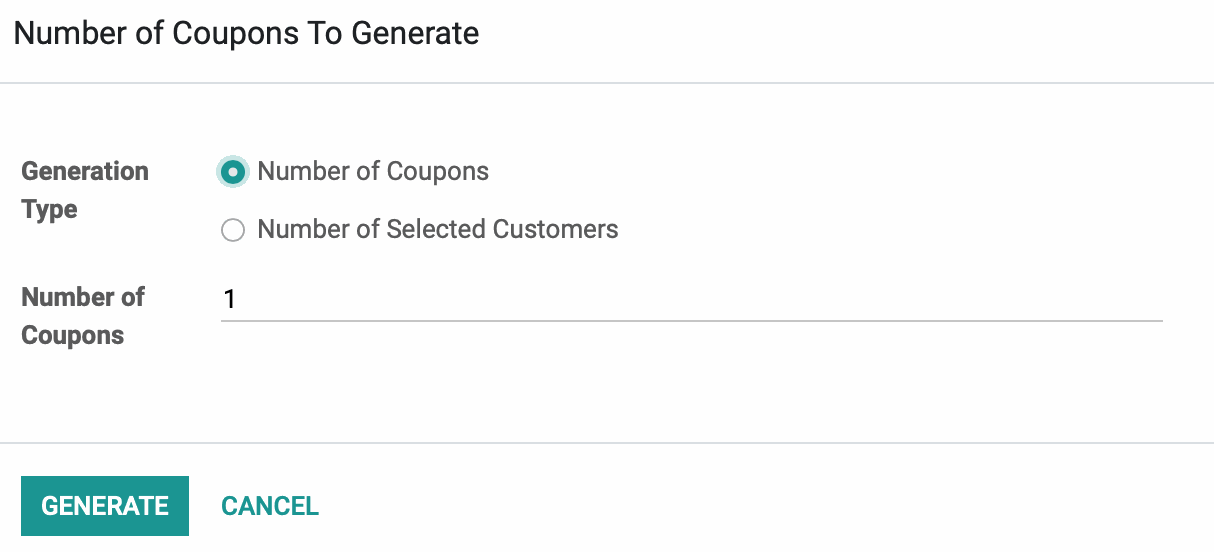
Generation Type:
Number of Coupons: If this is selected, then you will set the number of coupons you want to create and any customer you give the coupon code to can utilize the coupon.
Number of Selected Customers: If this option is selected, you will be prompted to set up filtering rules which will allow you to select which of your customers you want to be able to utilize the coupon. The campaign will generate 1 coupon code for every qualifying customer and only those customers will be able to utilize the coupon codes that were generated for them.
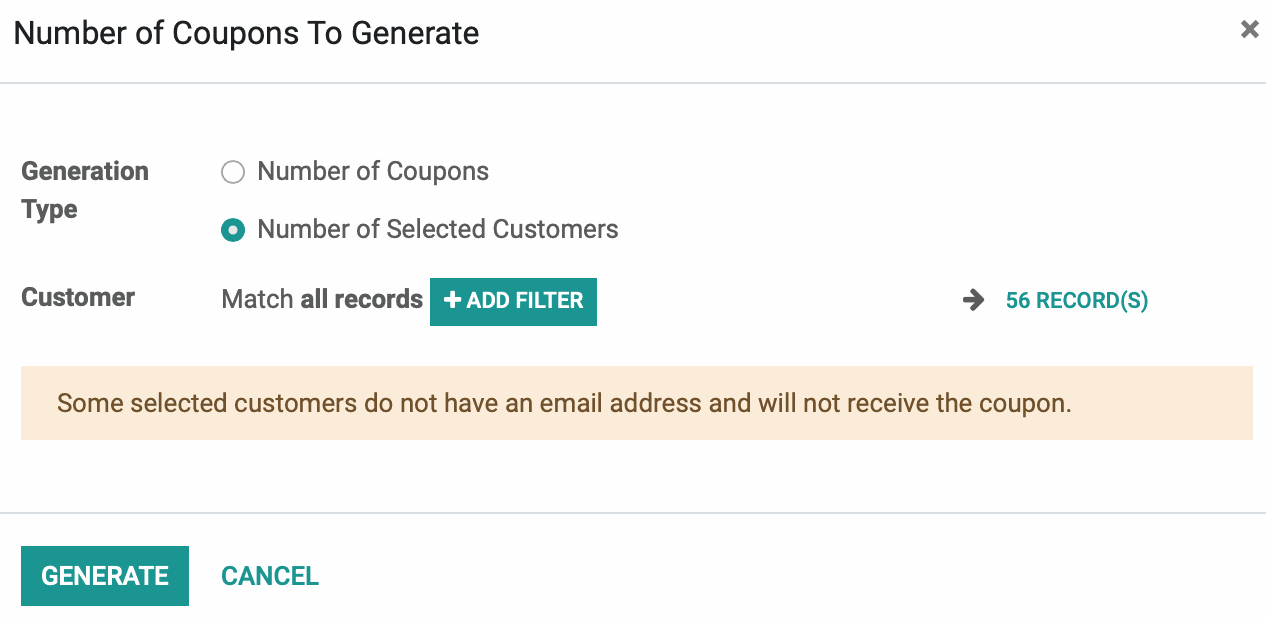
Once you have your coupon generation rules set, click Generate. Your coupon codes will be created and you'll be taken back to the previous screen.
To get to your coupon codes, click the Coupons smart button.
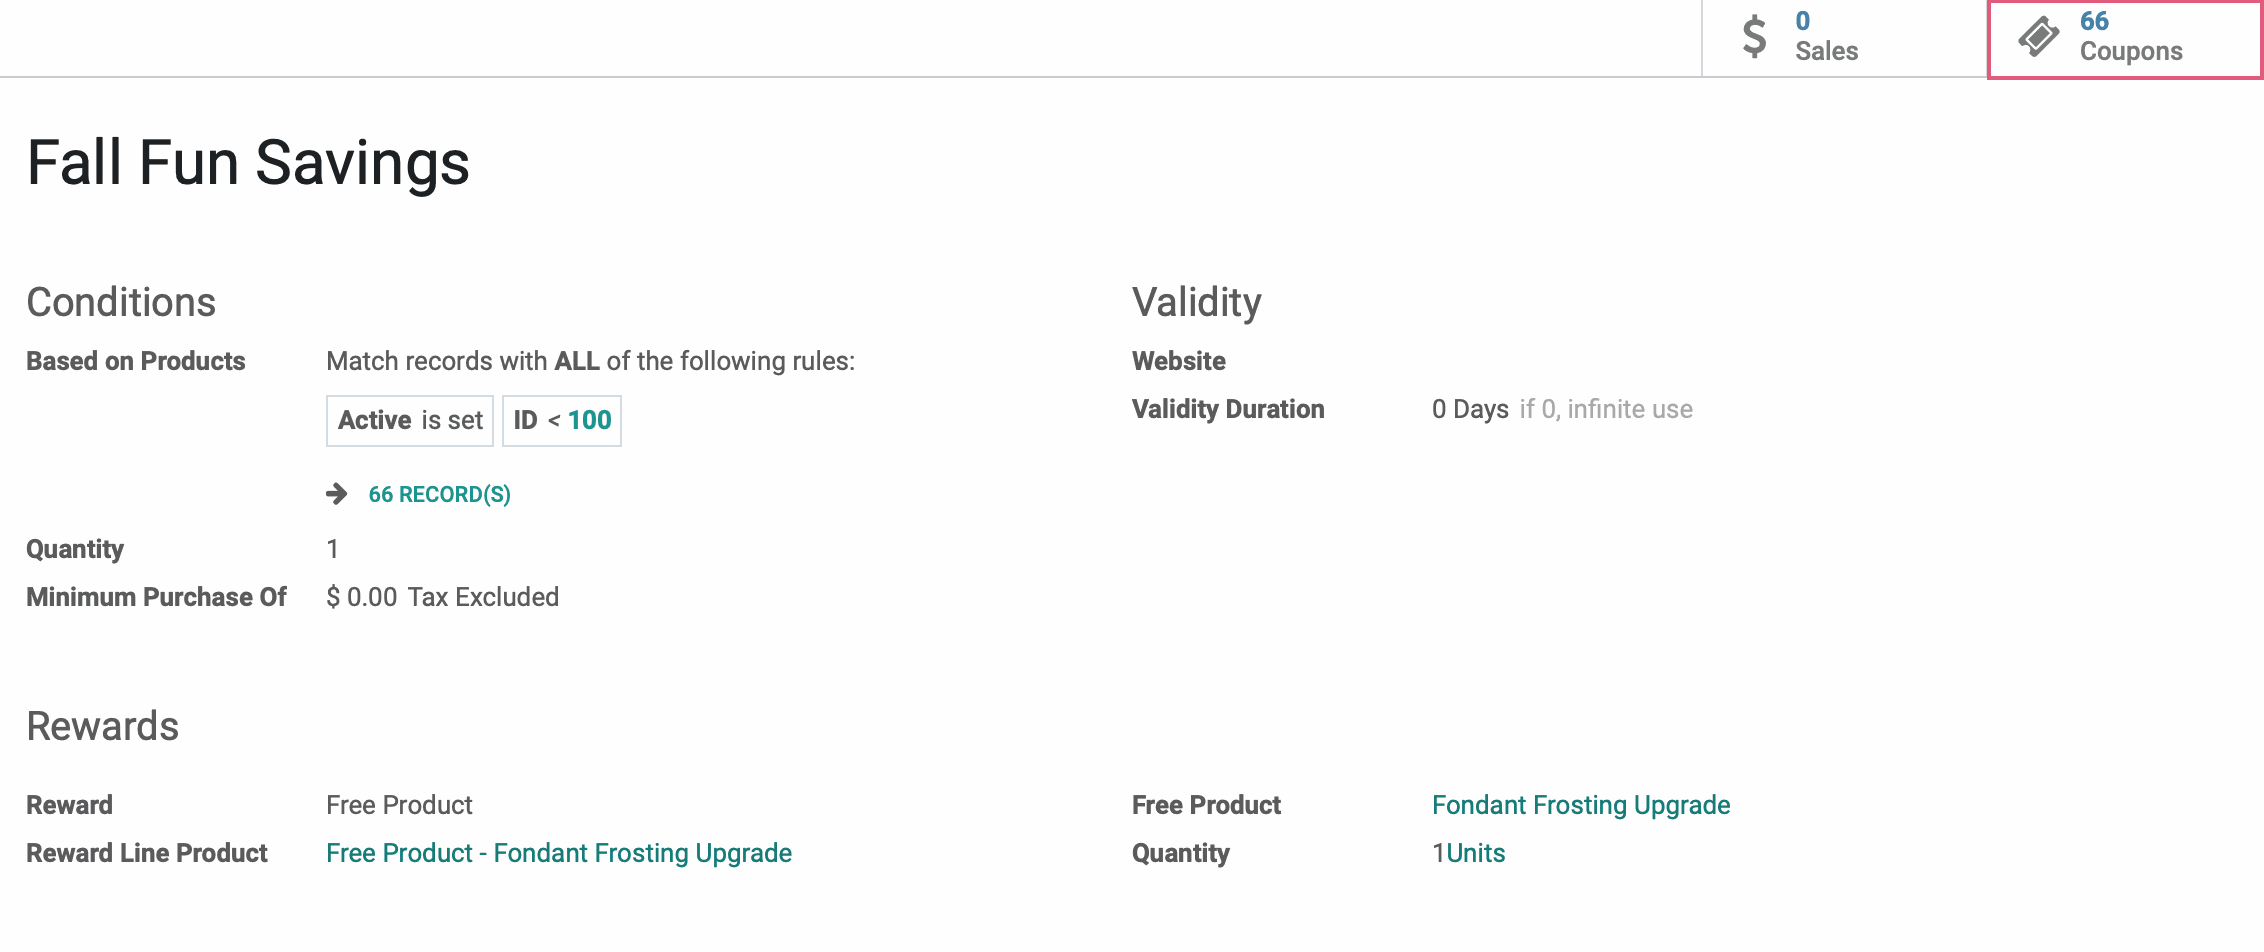
This displays a list of Coupon Codes along with the following information:
Expiration Date: The expiration date of the coupon code.
Program: The name of the Coupon Program.
For Customer: If this coupon was generated for a specific customer, it will be listed here. Otherwise, it will be blank.
Order Reference: If this coupon is generated from a Sales Order, that order will be shown here.
State: This indicates if the coupon is Valid, Consumed, or Expired.

Send Code by Email
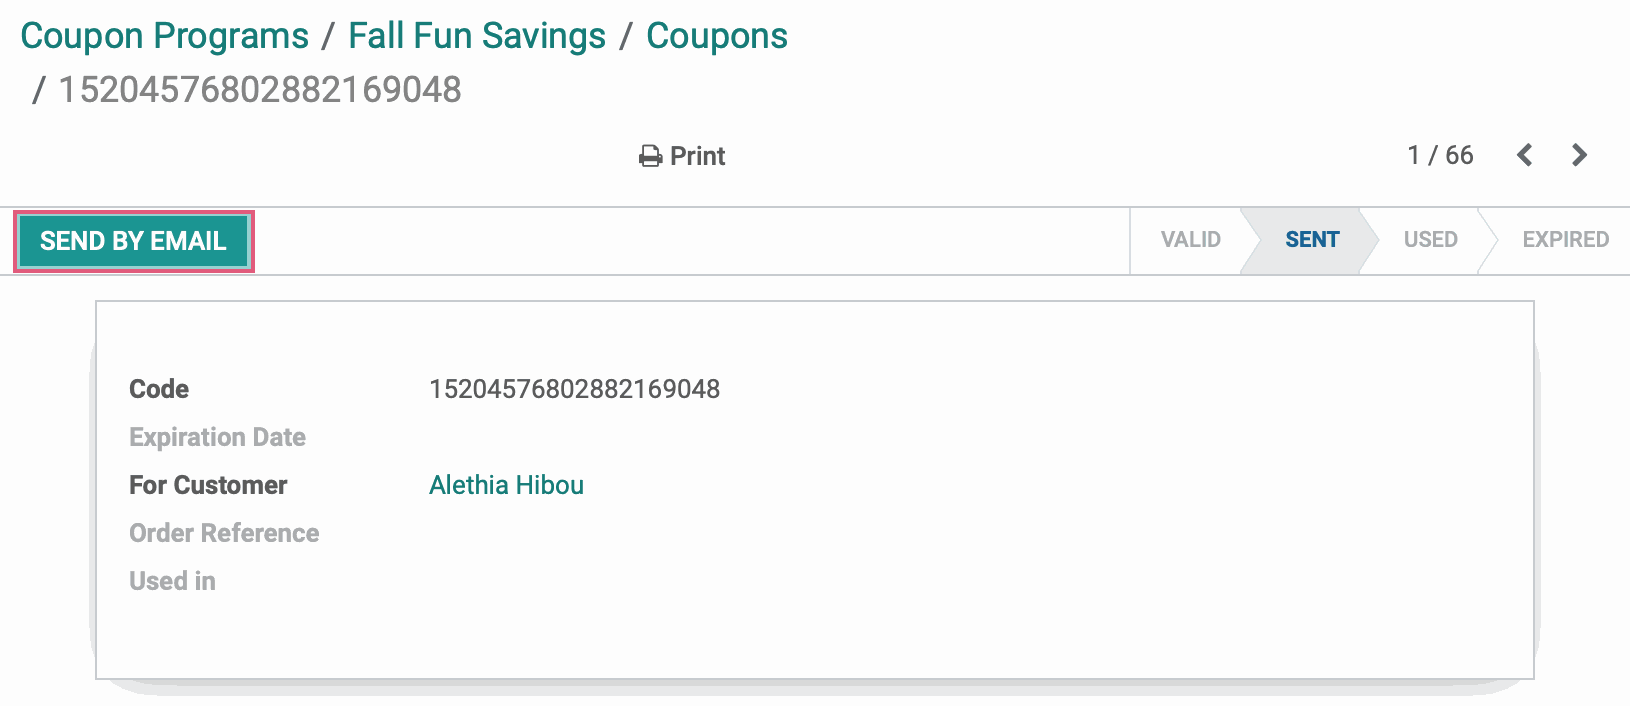
Emailing the customer code is how your customer knows the coupon exists. To do so, select any valid code from the list. On the next page, you'll have the option to email the code to that specific customer.
Click Send by Email.
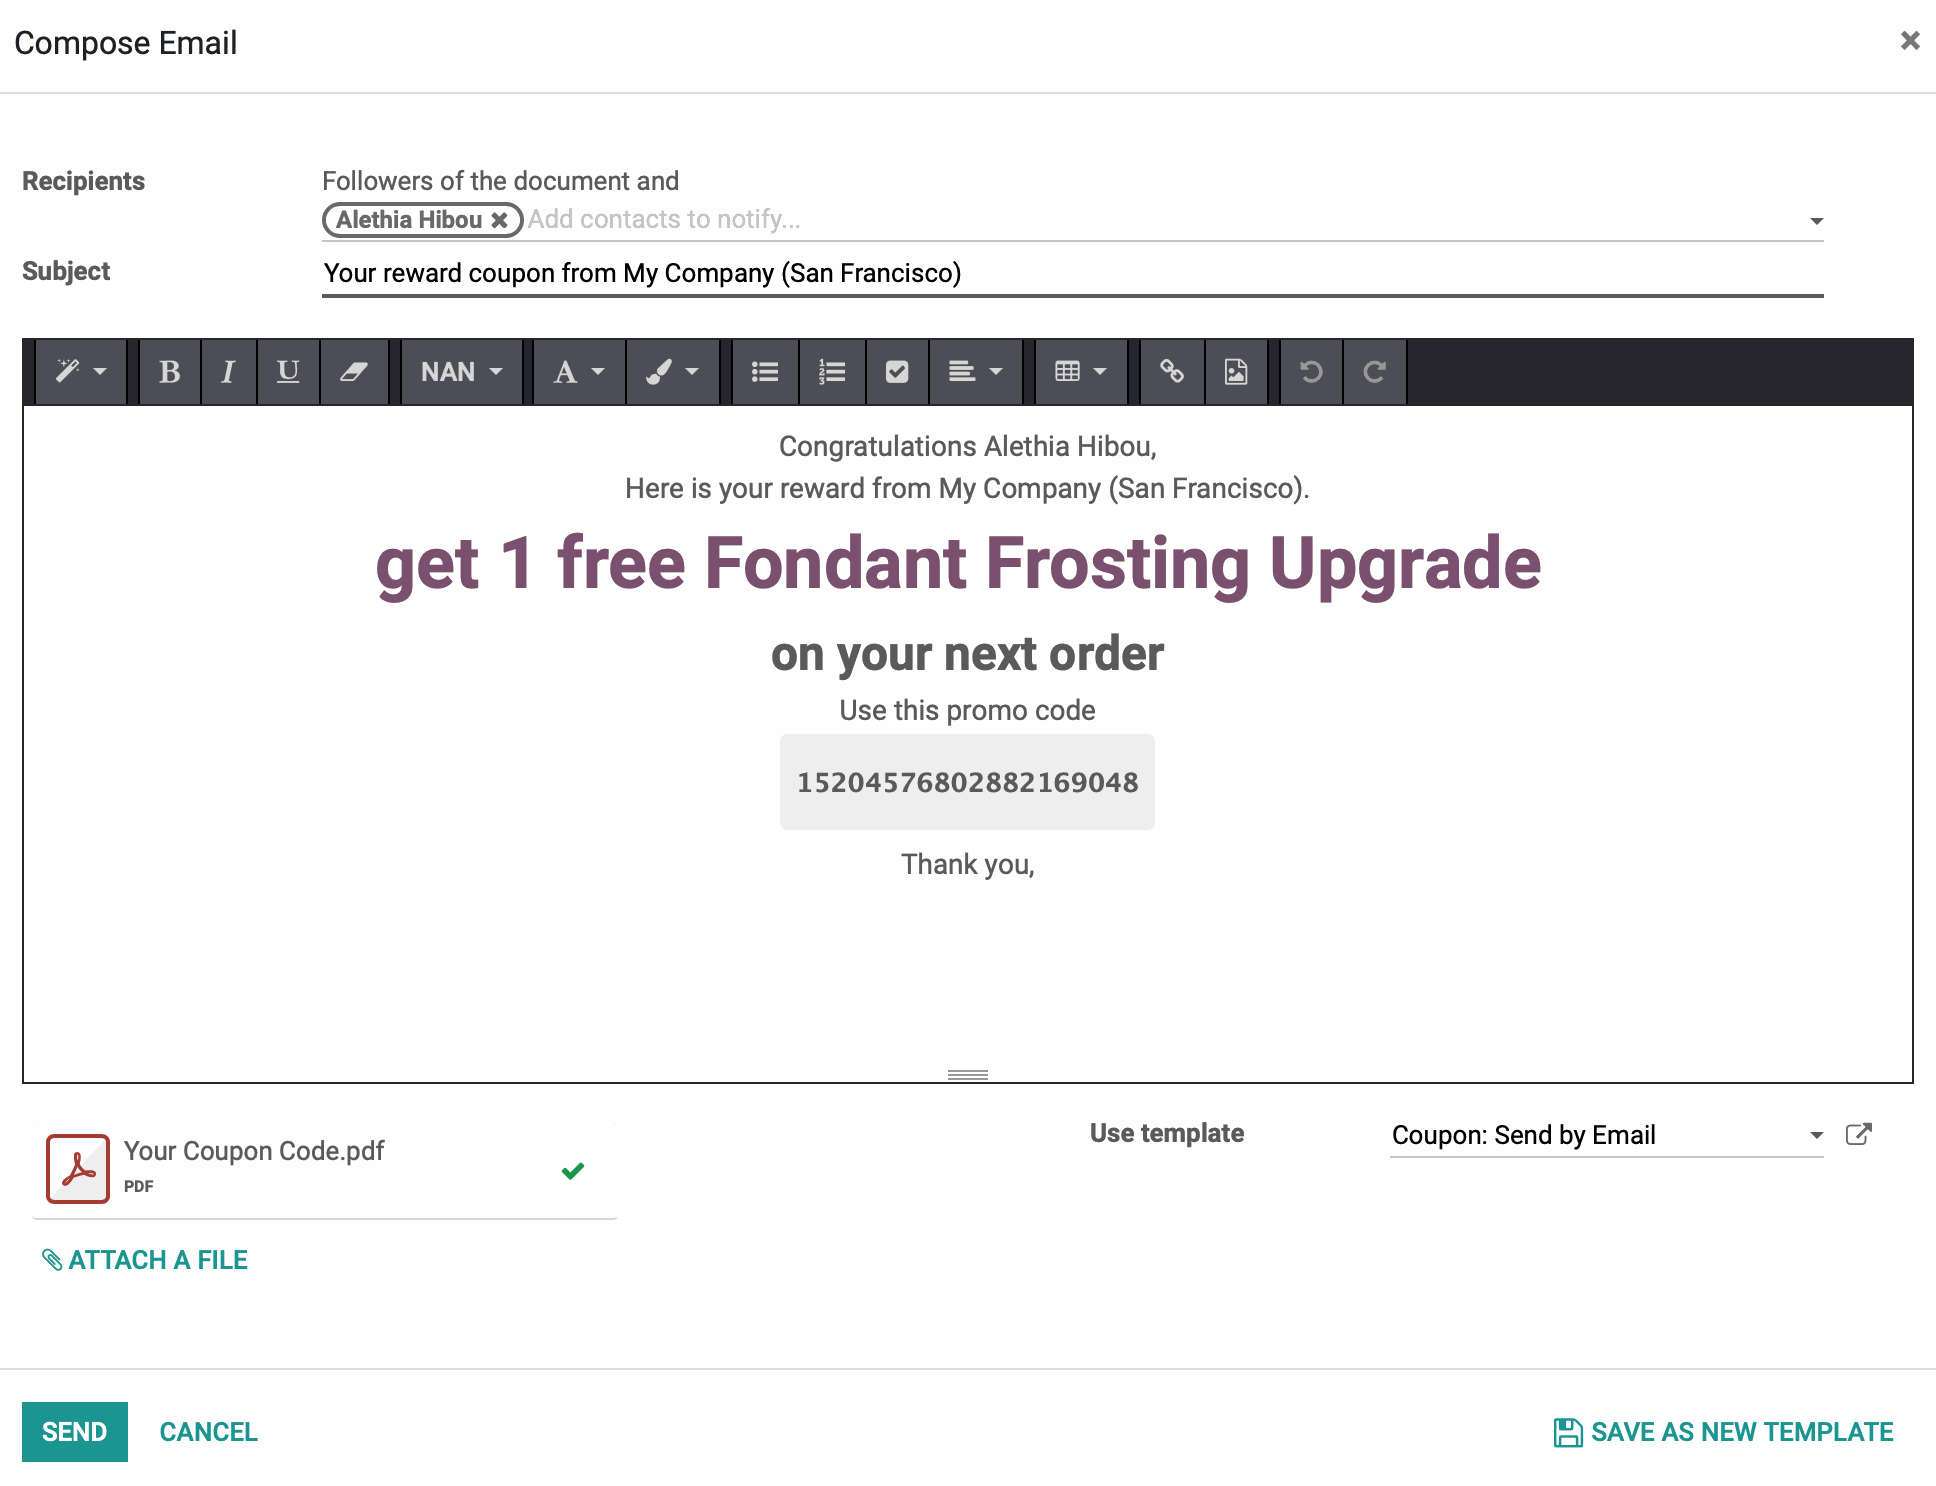
This brings you to the email composer where you can edit the contents of the individual coupon emails. This is a great opportunity to add personalization or special instructions on a per-customer basis.
When you're done, click Send.
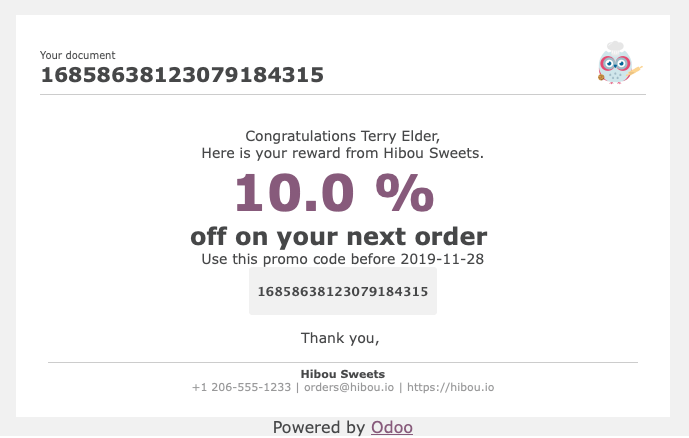
The customer will then receive an email that looks similar to the following:
Applying a Coupon Code
On the Website
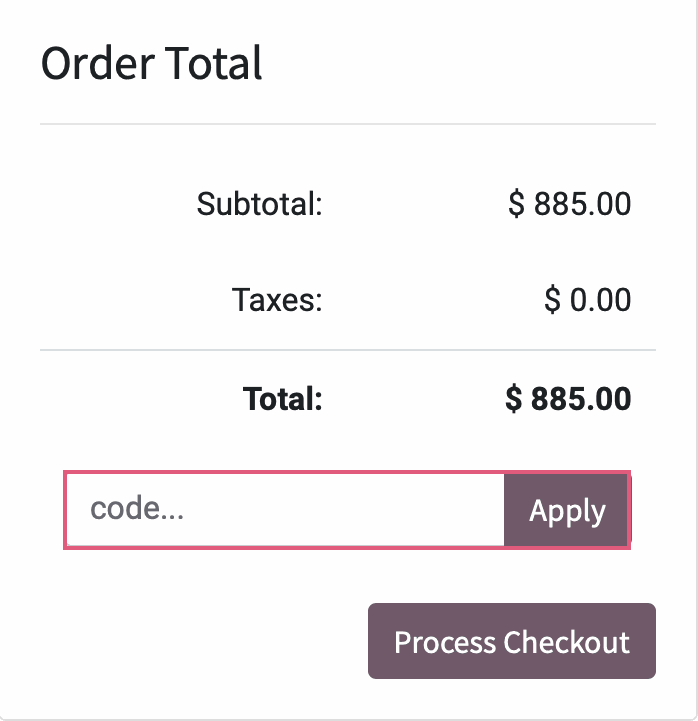
When shopping on your website, the customer will have the option to enter their coupon code in the shopping cart.
On a Sales Order
When you create a Sales Order, you'll have the option to apply a coupon using the Coupon button by the total.
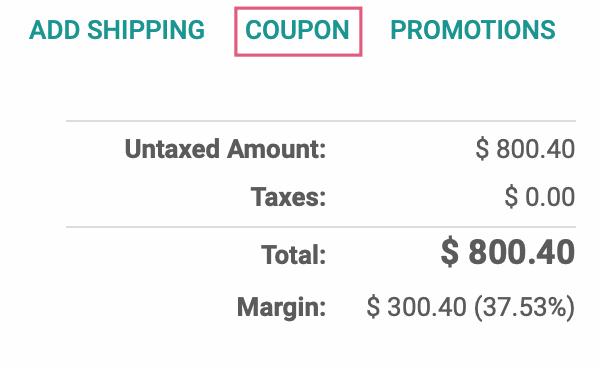
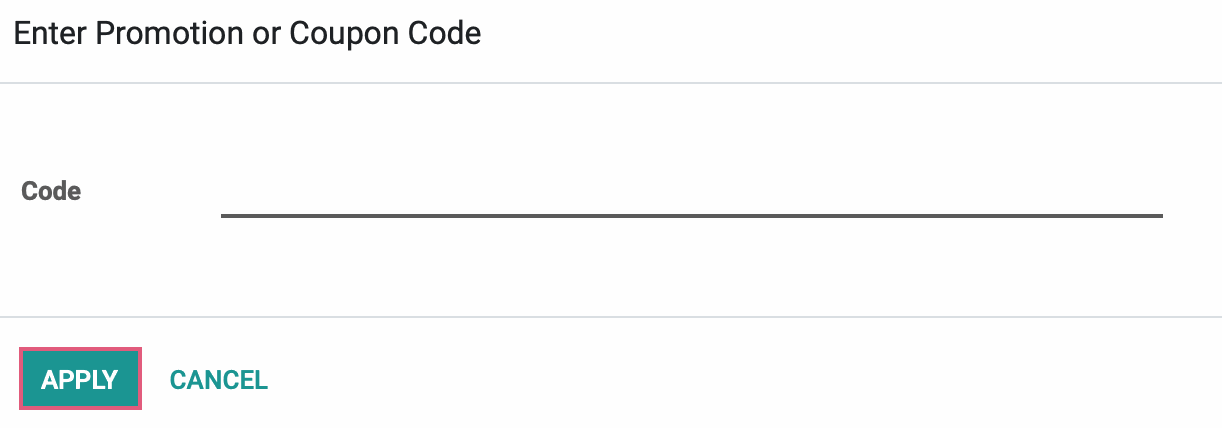
This brings up a modal window where you'll enter the code, then click Apply.
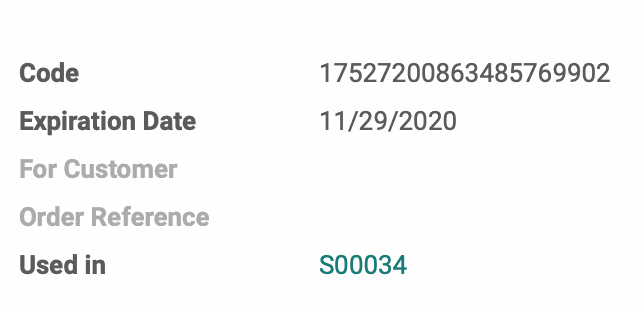
Once a coupon code is used, it will appear in the list as Used.
If you click on a used coupon code, you can see the order it was used on, the customer who used it, and the order reference. Simply click the record in the list that shows the coupon was consumed to view those details.

