- Stock Delivery Planner
- ShipBox
- PrintBox
- Boxes
- US ZIP Code to City/State
- Point of Sale Modules
- Purchase by Sale History MRP
- Payroll Batch Work Entry Error SKIP
- Web Auto Paginate
- Website Modules
- Hibou Fedex Shipping
- Hibou Commissions
- Sale Section Subtotal
- Forte Payment Acquirer
- Helpdesk Modules
- Account Payment Electronic
- Tools + Settings Modules
- Sales Modules
- Inventory Modules
- Accounting Modules
- Manufacturing Modules
- Purchase Modules
- Project Modules
- Payment Analytic
- Payroll Modules
- Human Resources (HR) Modules
- HR Holidays Partial
- Payroll Input Name Report
- HR Payroll Input Report
- HR Holidays Accrual
- Maintenance Modules
- HR Employee Activity
Hibou Odoo Suite: Human Resources (HR) Modules: HR Expense Change
Repository Versions:
Modules:
AGPL-3
Purpose
The purpose of this documentation is to outline the use case and processes associated with Hibou's HR Expense Change module for Odoo.
The HR Expense Change module serves as a technical foundation for changing expense details. The wizard provided by HR Expense Change allows you to modify the Expense Date after the expense has been approved or posted.
Getting Started
First thing's first, we want to install the module! Navigate to the Apps application and search 'HR Expense Change'. When ready, hit Install.

Good to Know!
The HR Expense Change module requires Odoo's Expenses app. However, if you do not already have this app installed, Odoo will install it for you during this module's installation!
Processes
To get started, navigate to the Expenses application.

Changing an Approved Expense
Once there, select To Approve followed by Expense Reports to Approve.
This will bring you to a list of expense sheets to approve. Remove the 'To Approve' filter.

This will provide you with a list of all expense sheets, regardless of status. You may also select and change Posted expense sheets from this list.

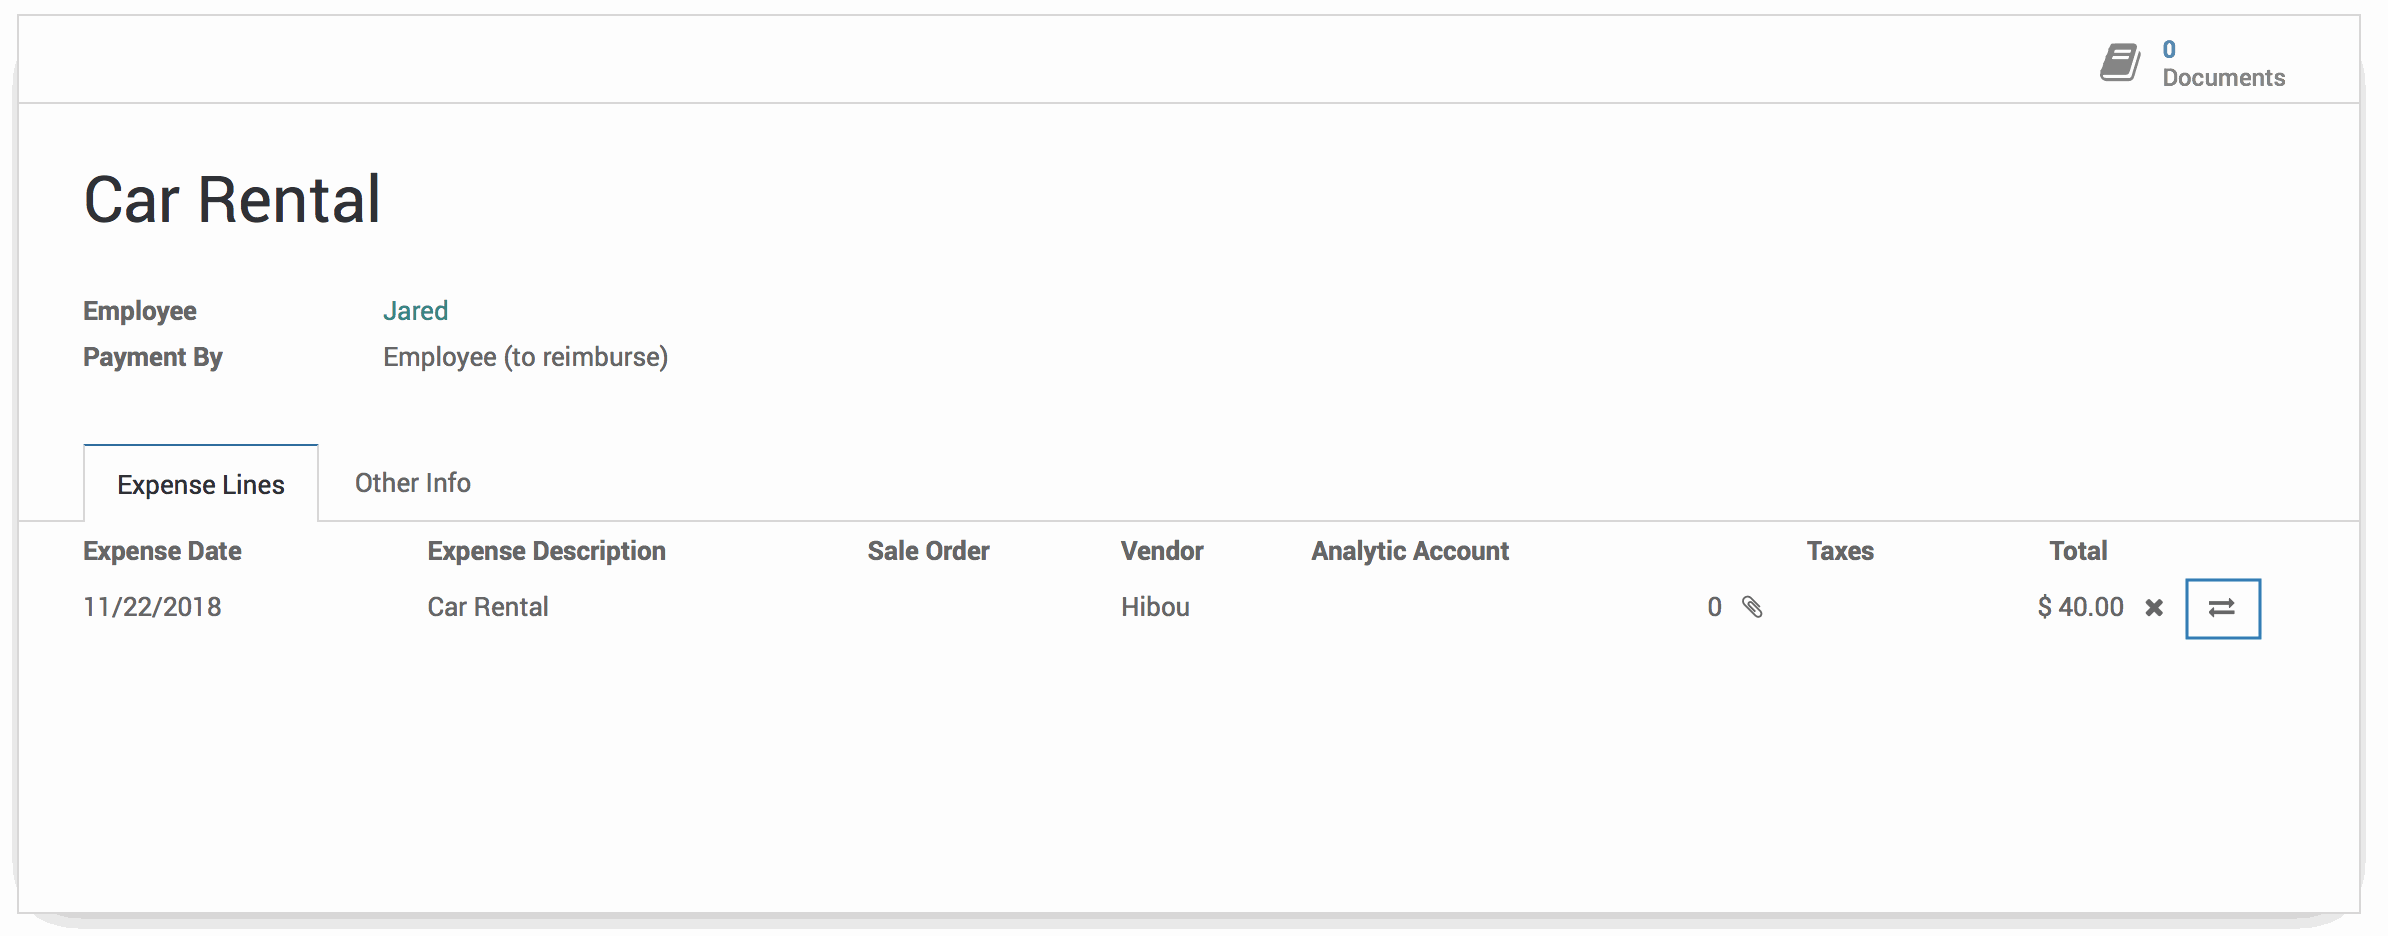
Click on an expense sheet to open it. Next to each expense line, you will see a change icon . Click the next to the expense line on which you wish to change the Expense Date.
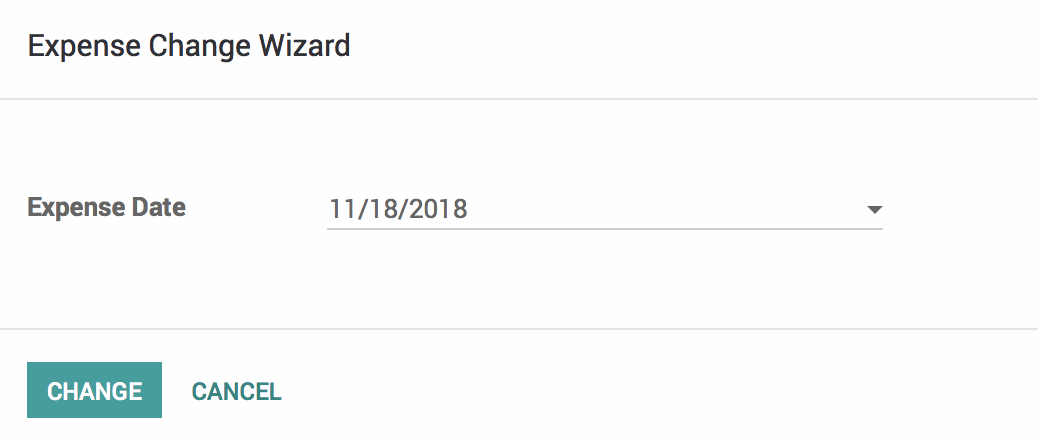
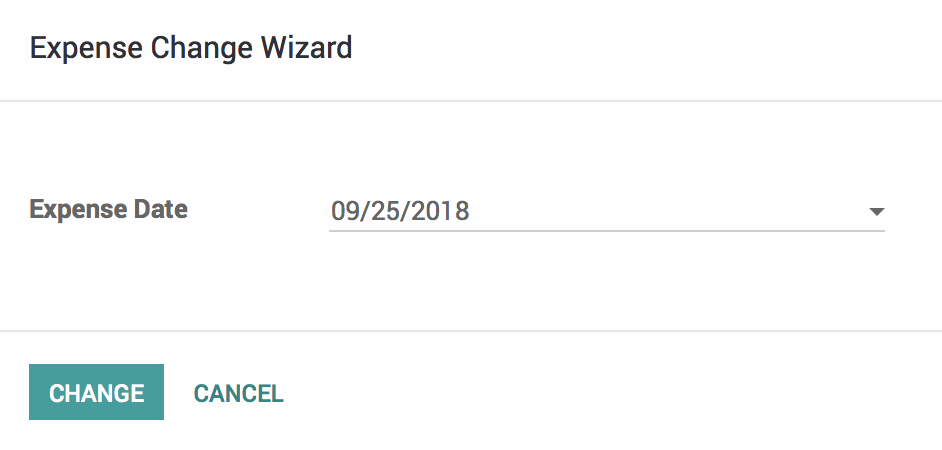
This will present a pop-up modal for the expense change wizard. Change the Expense Date. When finished, hit Change.
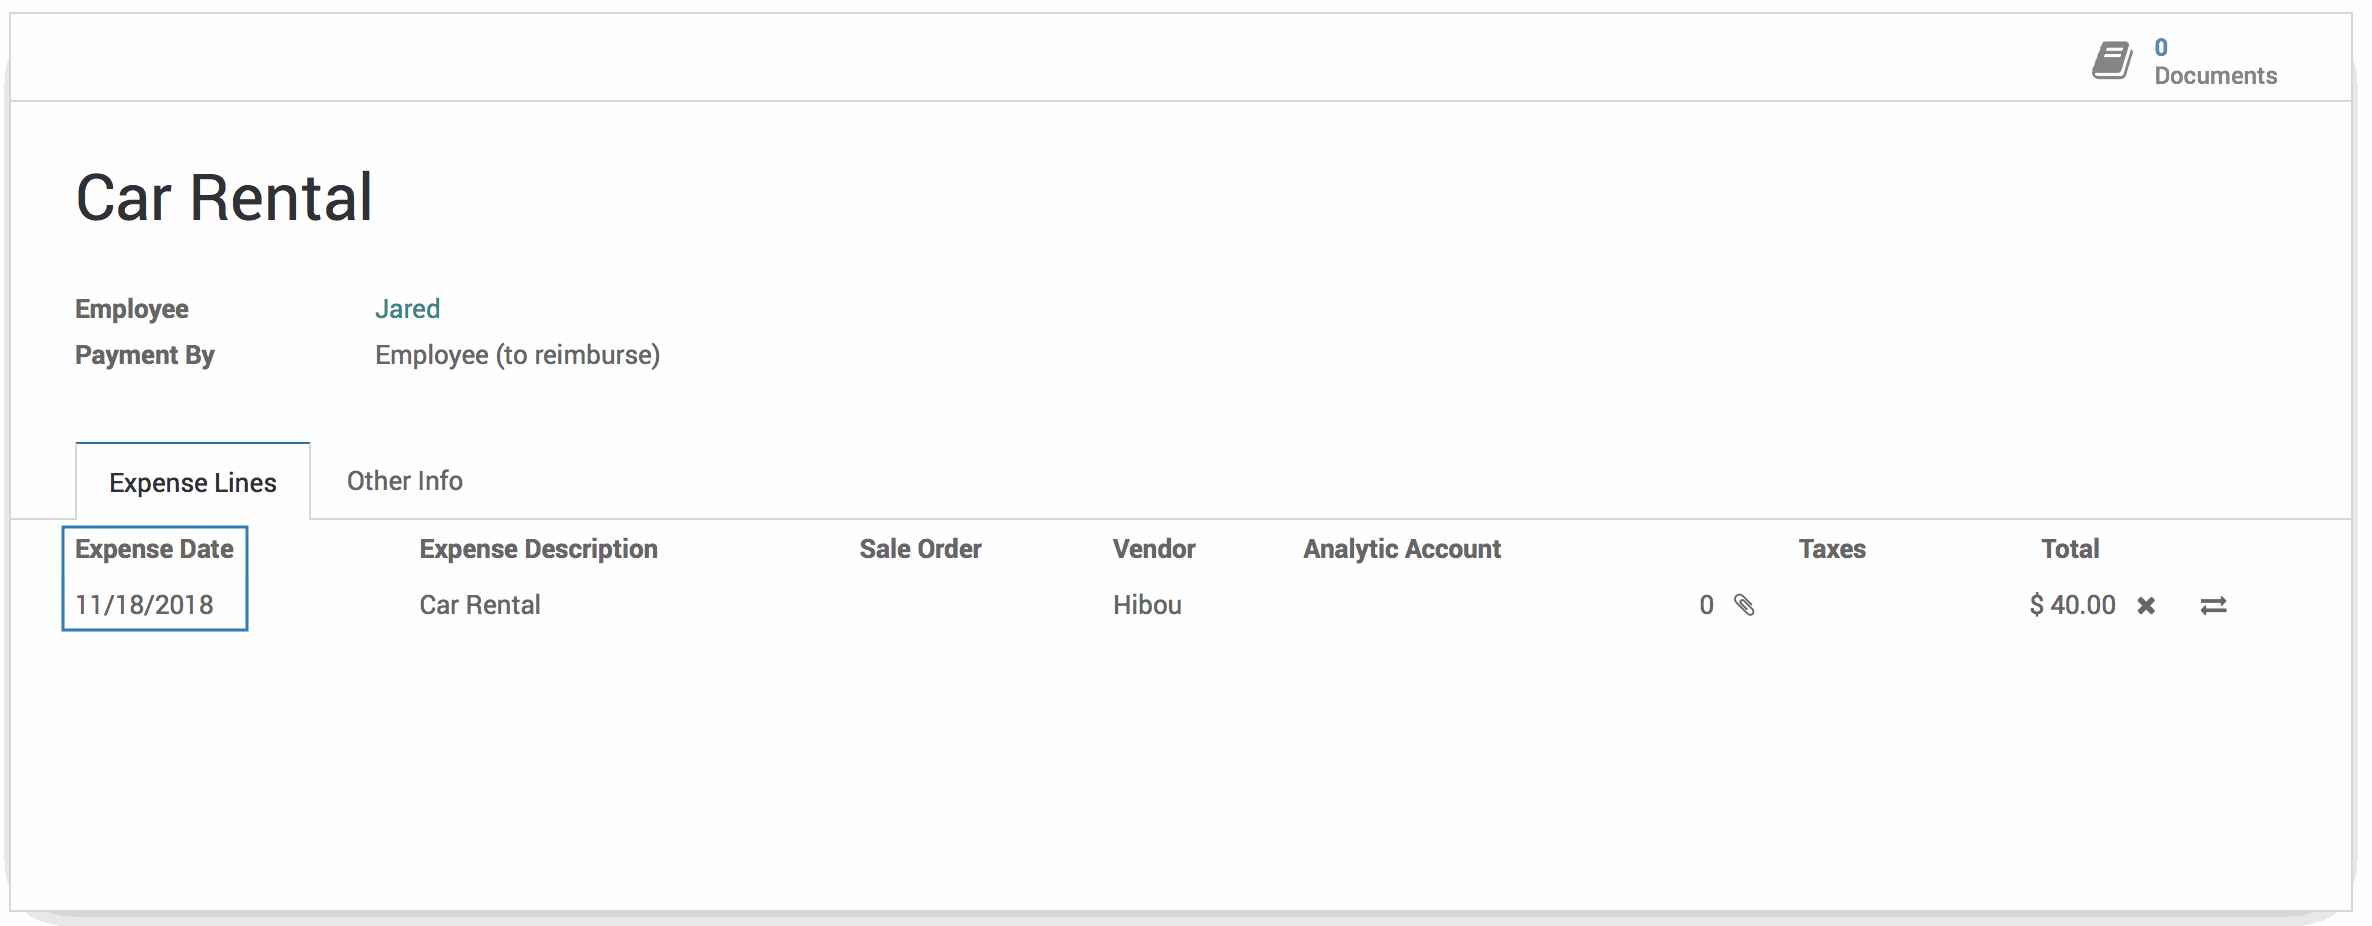
On the expense sheet, you will see that the Expense Date has been updated accordingly.
Changing a Posted Expense
Within the Accounting application, select Accountant followed by Expense Reports to Post.
This will bring you to a list of expense sheets to post. Remove the 'To Post' filter.

This will provide you with a list of all expense sheets, regardless of status. You may also select and change Approved expense sheets from this list.

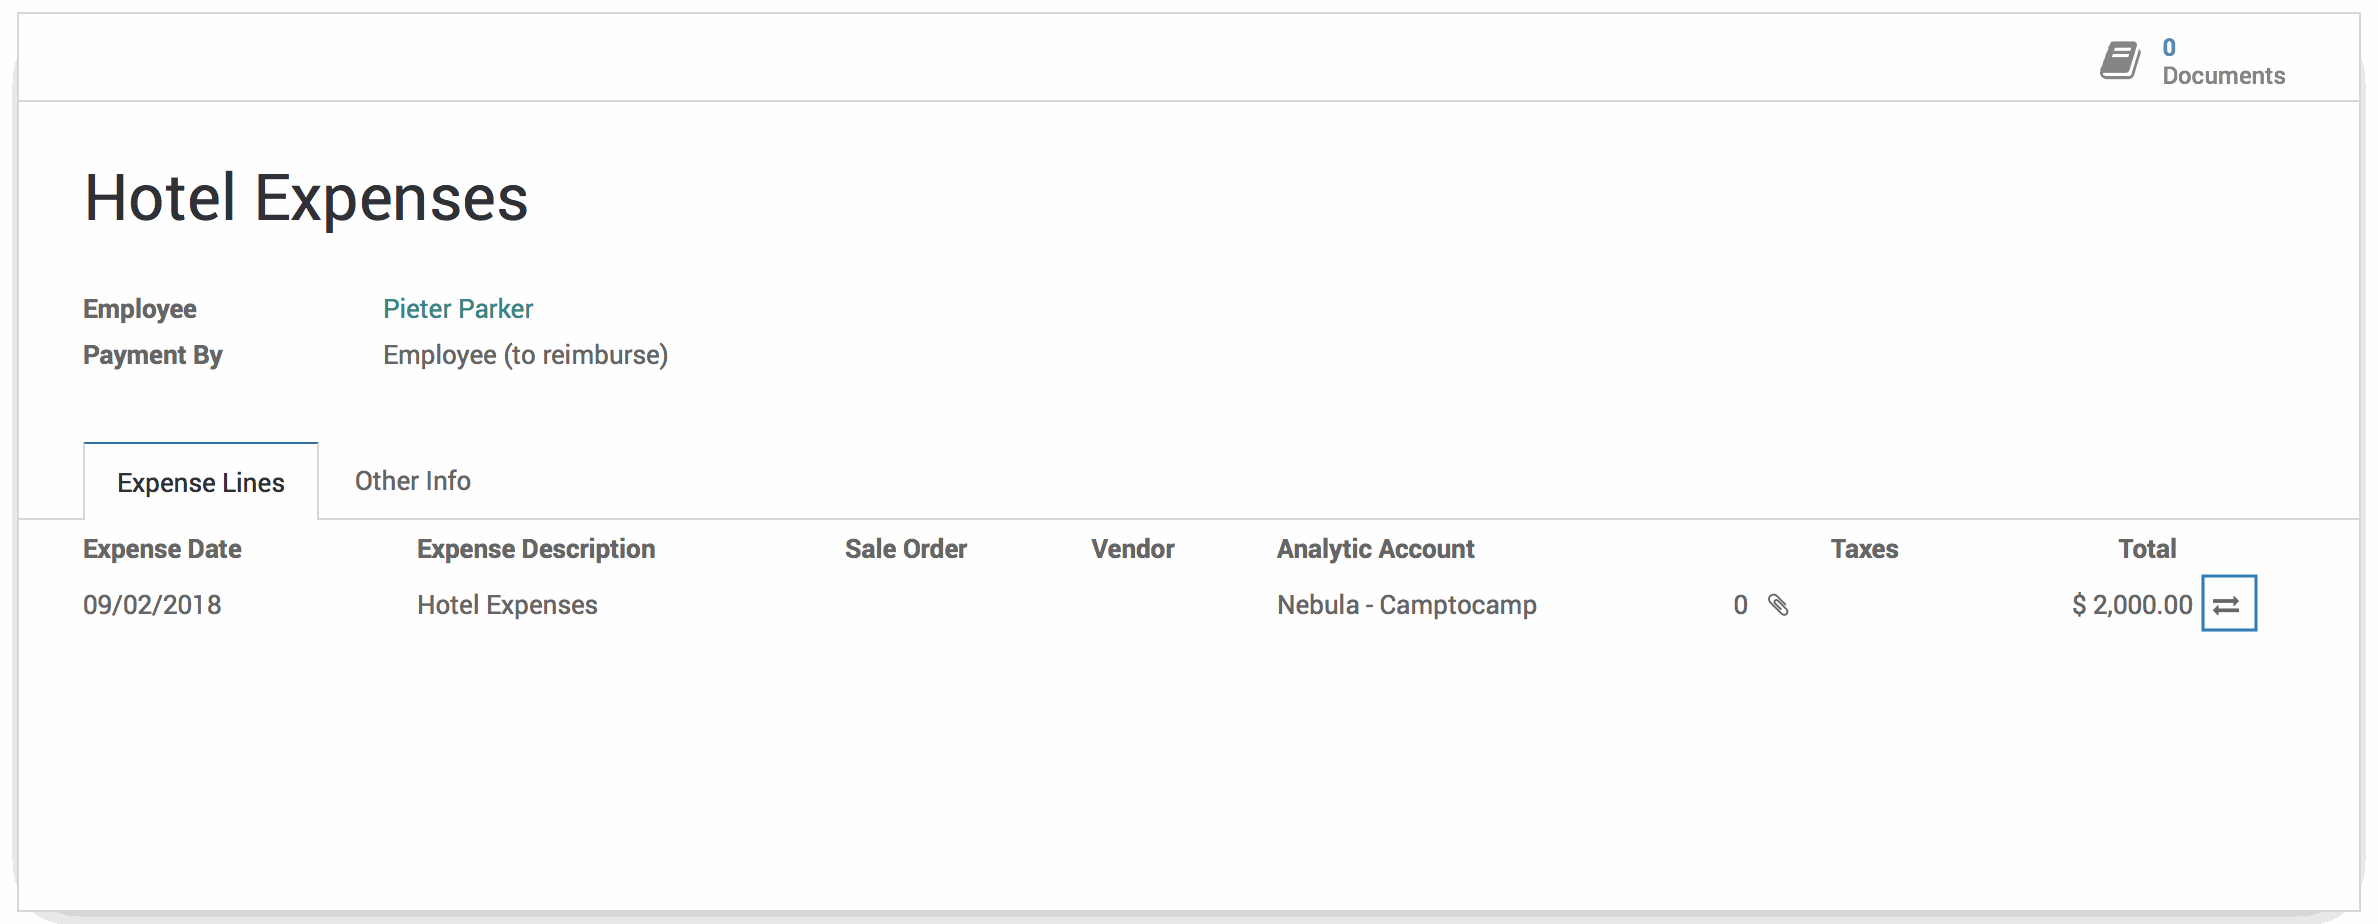
Click on an expense sheet to open it. Next to each expense line, you will see a change icon . Click the next to the expense line for which you wish to change the Expense Date.
This will present a pop-up modal for the expense change wizard. Change the Expense Date. When finished, hit Change.
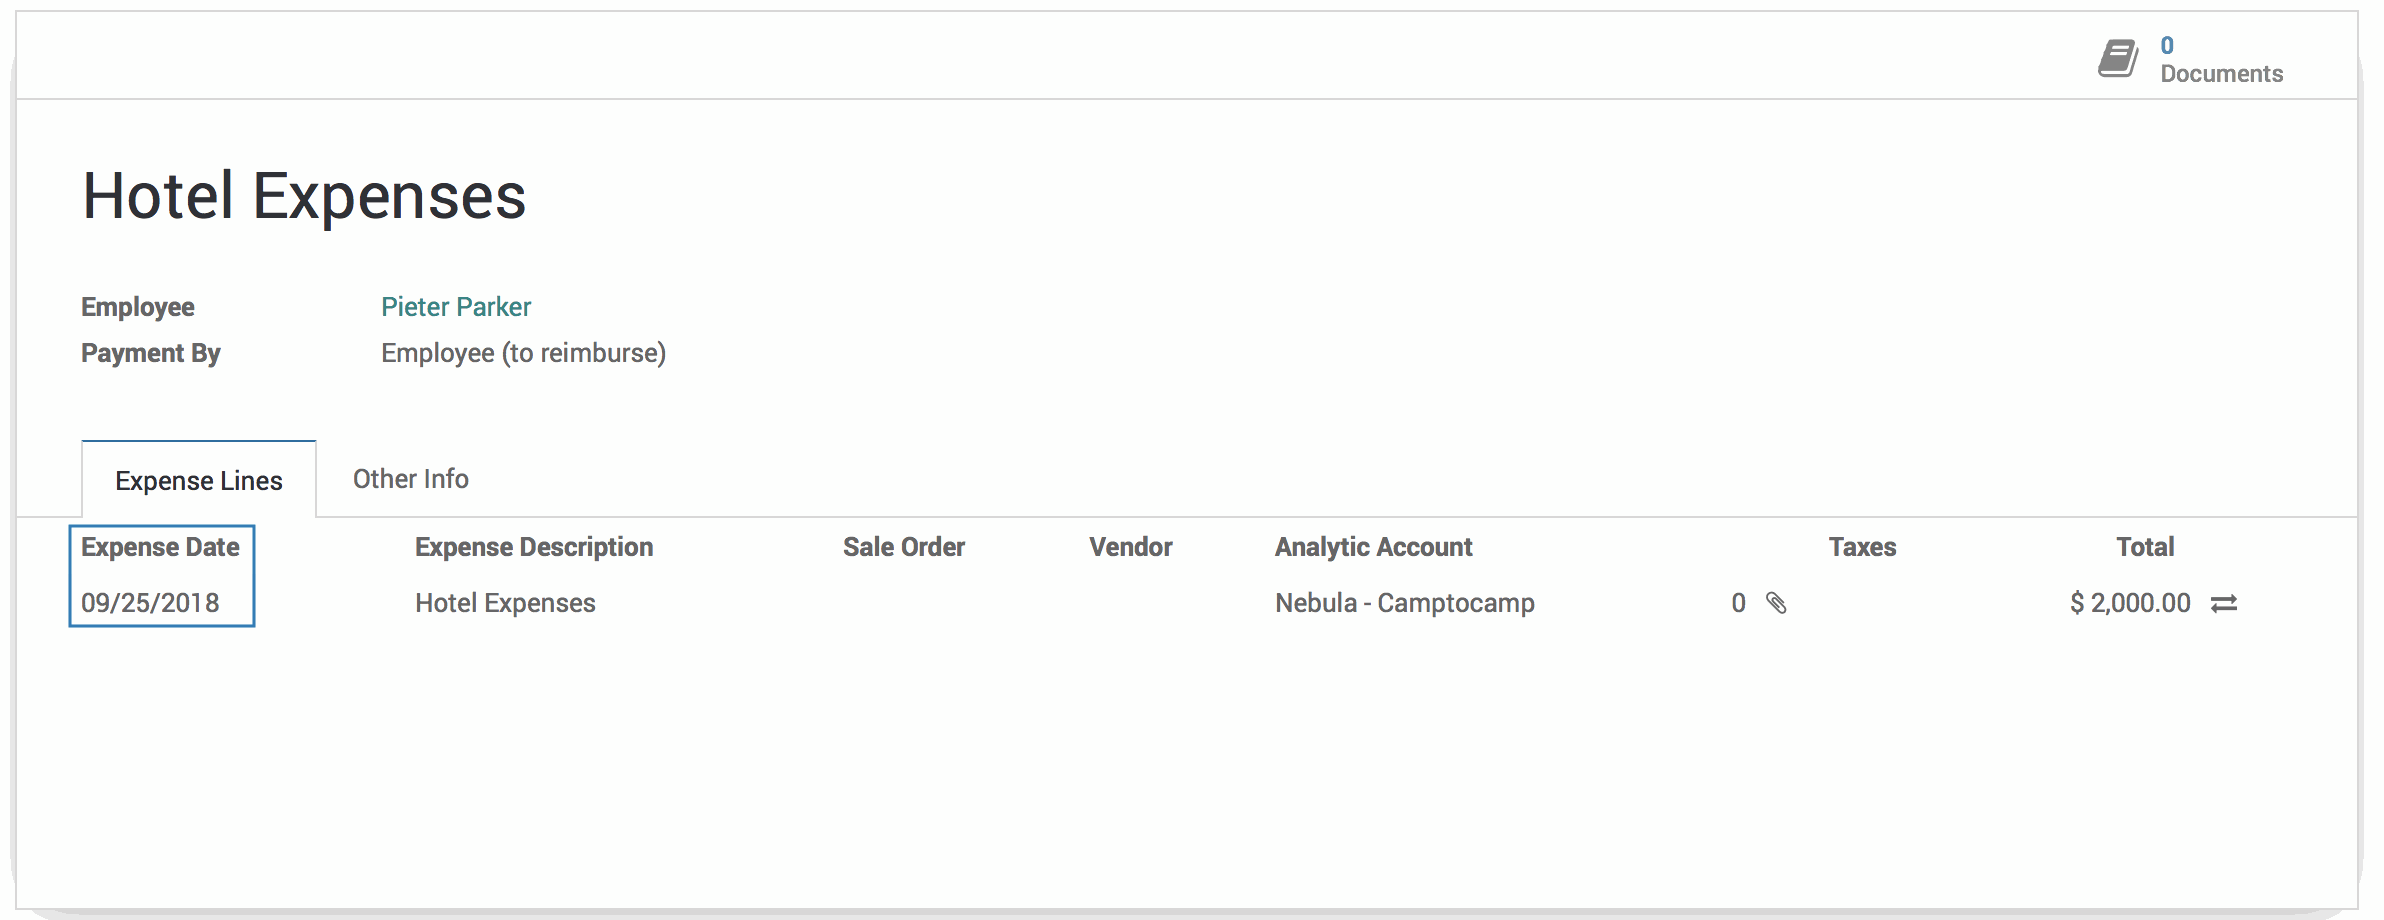
On the expense sheet, you will see that the Expense Date has been updated accordingly.
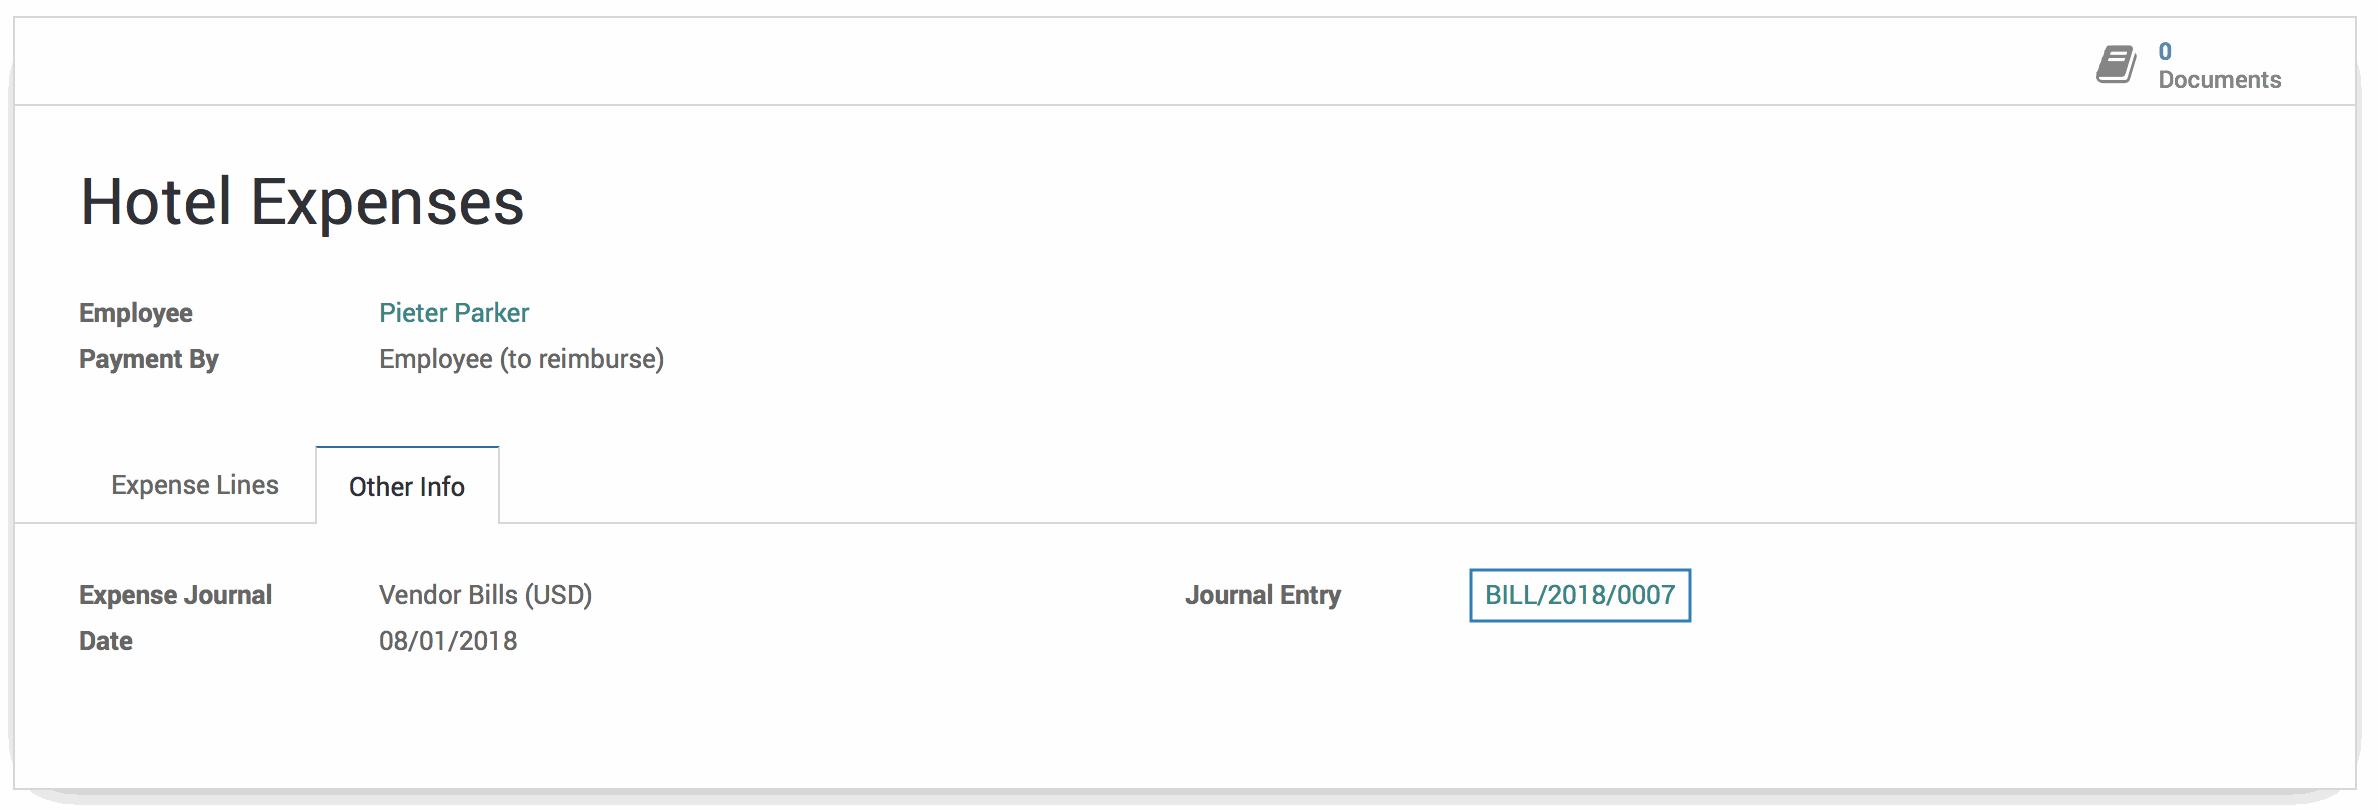
To see how this modified the journal entry, select the Other Info tab and click on the linked journal entry.
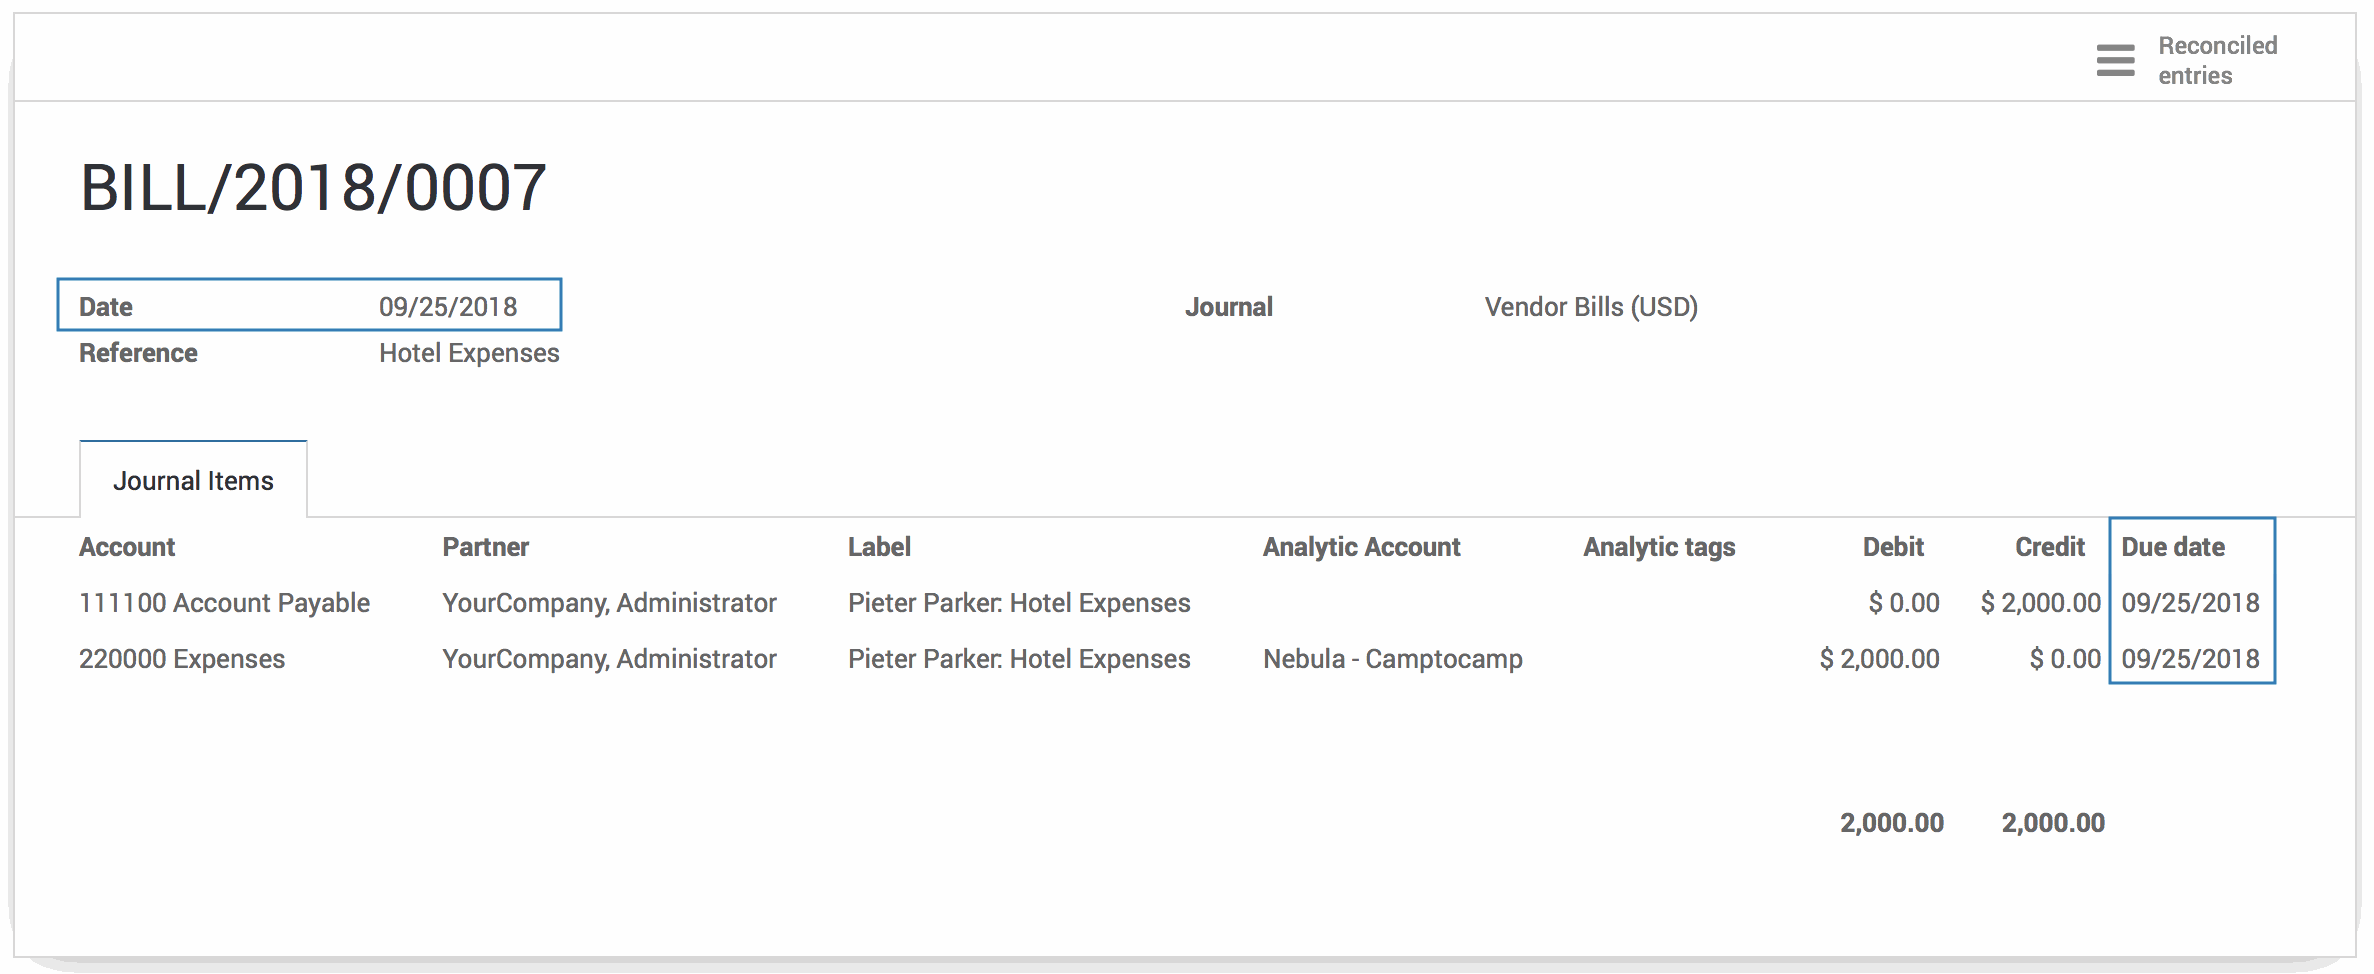
On the journal entry, you will see that the dates have been updated.
Technical
The HR Expense Change module is the technical foundation for modifying expenses. It creates a wizard and permissions for making expense changes that can be handled by other modules. This particular module implements the ability to change the Expense Date field.
There is a new Transient Model (Wizard) `hr.expense.change` with the following fields:
`expense_id` Many2one field for the Expense to be changed
`expense_company_id` Many2one field related to the `expense_id`'s company id
`date` Expense Date field for the expense and subsequent Accounting Moves
An action button Change is added to the expense form view that will display the new expense change view for the wizard.
An action button Change is added to the expense sheet form view on every expense line.