- Accounting Modules
- Account Payment Electronic
- Boxes
- Forte Payment Acquirer
- Helpdesk Modules
- Hibou Commissions
- Hibou Fedex Shipping
- HR Employee Activity
- HR Holidays Accrual
- HR Holidays Partial
- HR Payroll Input Report
- Human Resources (HR) Modules
- Inventory Modules
- Maintenance Modules
- Manufacturing Modules
- Payment Analytic
- Payroll Batch Work Entry Error SKIP
- Payroll Input Name Report
- Payroll Modules
- Point of Sale Modules
- PrintBox
- Project Modules
- Purchase by Sale History MRP
- Purchase Modules
- Sale Section Subtotal
- Sales Modules
- ShipBox
- Stock Delivery Planner
- Tools + Settings Modules
- US ZIP Code to City/State
- Web Auto Paginate
- Website Modules
Hibou Odoo Suite: Accounting Modules: Payment Analytic
Repository Versions:
Purpose
The purpose of this document is to review the functionality of the Payment Analytic module from the Hibou Odoo Suite.
Getting Started
First things first! We need to install the module. Navigate to the Apps application, remove the Apps filter from the search bar and then search for "Payment Analytic". When ready hit the Install button.

Good to Know!
The Analytic Payment module requires the Accounting and Finance application. However, if you do not already have this application installed, Odoo will install it for you during this module's installation.
Processes
To get started, navigate to the Accounting application.

Once there, navigate to Configuration > Settings.
Scroll until you see the Analytics section in the settings menu. Choose the option for Analytic Accounting and hit the Save button.

Next, navigate to Sales > Payments if you are creating a customer payment or Purchases > Payments if you are creating a vendor payment.
Hit the Create button.
Input your necessary payment details like the vendor you are sending the payment to, the payment amount, and the correct payment journal.
To assign an analytic account to this payment, select the appropriate analytic account from the Analytic Account dropdown menu.

Once your payment details are inputted, hit Confirm.
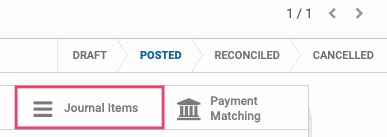
You will now see the Journal Items smart button at the top right of the payment.

Selecting this will take you to the journal items created from this payment.

To review your analytic account transactions, navigate to Reporting > Analytic Accounts. From this screen you will see all of your analytic accounts and their total debits and credits as well as any outstanding balances.

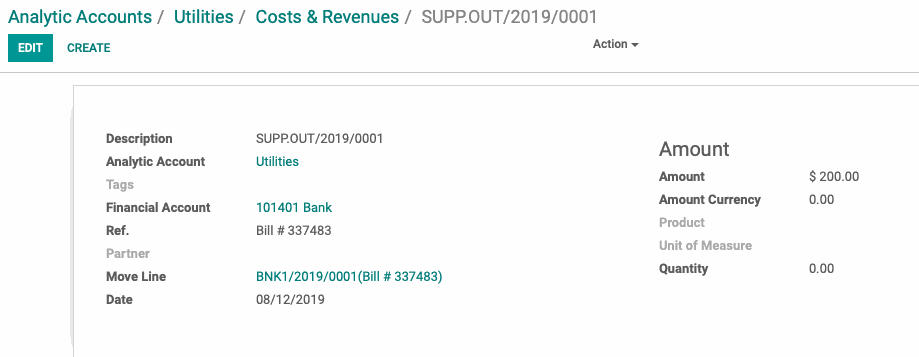
To review the transactions posted to a specific analytic account, select the analytic account and then select the Cost/Revenue smart button.

You will see the transactions in this analytic account grouped by month. If you select one of the transactions, you will see the details for it.
